Growing herbs in pots – 10 expert tips for delicious edibles all year long
Experts reveal the secrets of growing herbs in pots to help you extend the life of plants and enjoy fuller, tastier harvests

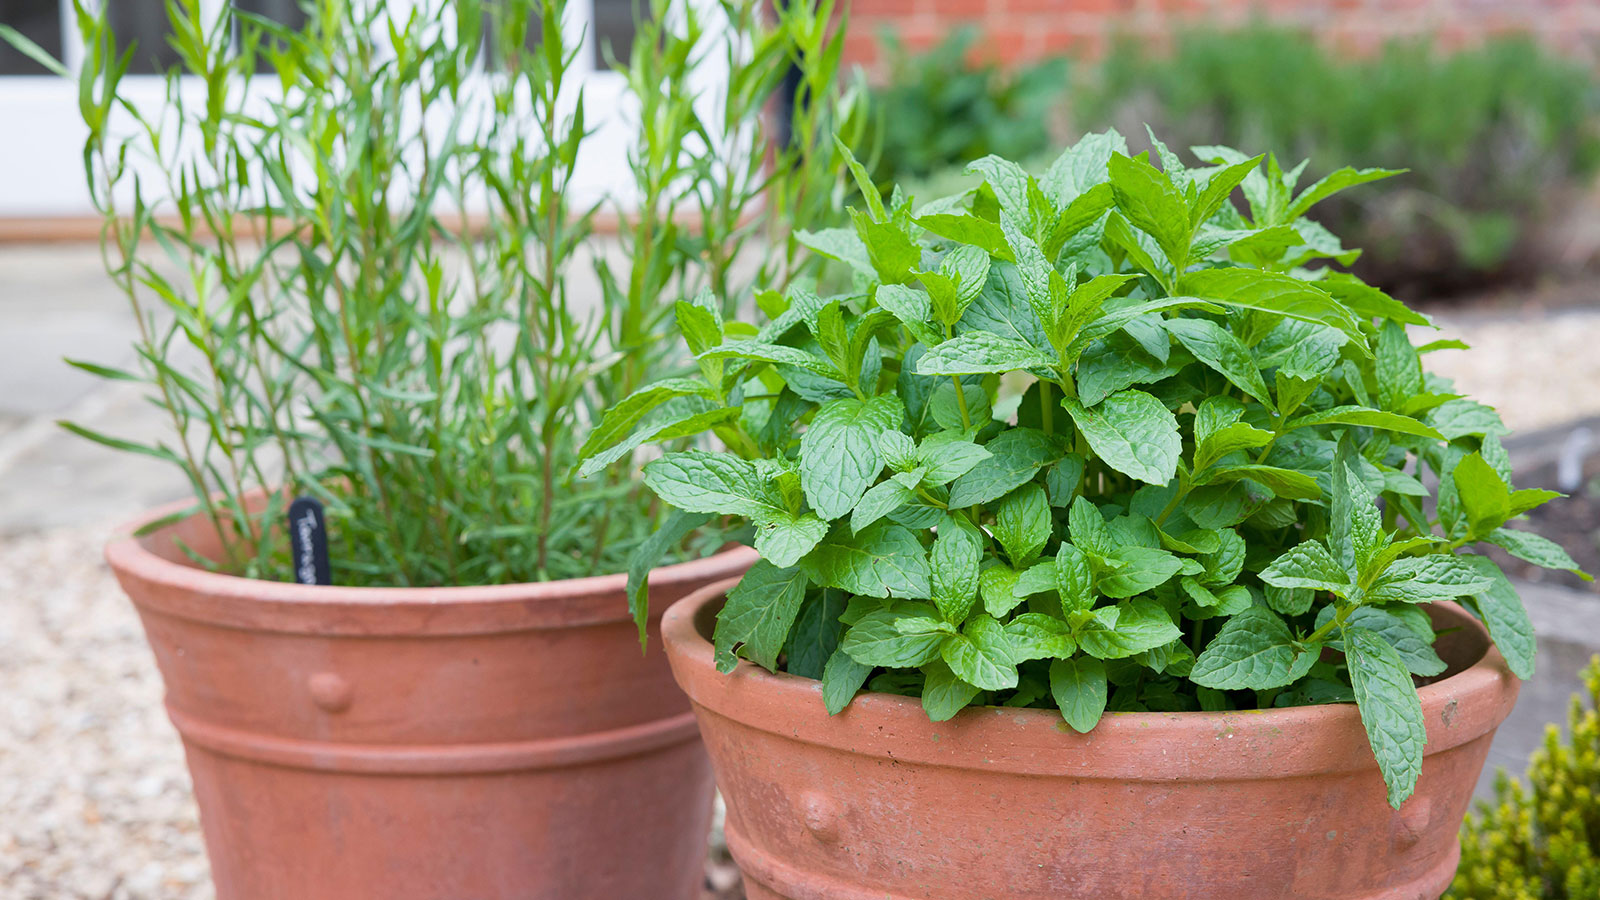
- 1. Choose the right location
- 2. Pick the right herbs for your pots
- 3. Pick the right pots
- 4. Choose herb partnerships for pots
- 5. Pick the best planting times
- 6. Water and feed according to need
- 7. Keep bugs at bay
- 8. Pick, snip and pinch
- 9. Understand how flowering can affect taste
- 10. Make more herbs from potted plants
Design expertise in your inbox – from inspiring decorating ideas and beautiful celebrity homes to practical gardening advice and shopping round-ups.
You are now subscribed
Your newsletter sign-up was successful
Want to add more newsletters?

Twice a week
Homes&Gardens
The ultimate interior design resource from the world's leading experts - discover inspiring decorating ideas, color scheming know-how, garden inspiration and shopping expertise.

Once a week
In The Loop from Next In Design
Members of the Next in Design Circle will receive In the Loop, our weekly email filled with trade news, names to know and spotlight moments. Together we’re building a brighter design future.

Twice a week
Cucina
Whether you’re passionate about hosting exquisite dinners, experimenting with culinary trends, or perfecting your kitchen's design with timeless elegance and innovative functionality, this newsletter is here to inspire
When you think about growing herbs in pots, do you imagine a sun-kissed windowsill filled with fragrant galvanized tubs of edible staples? Perhaps you imagine well-positioned patio containers, or a rustic half-barrel of mixed herbage flourishing in a dappled cottage garden… It’s hard not to get carried away with the charm of herb growing. Because of that, we sometimes forget the basics. Like, how much watering is too much? Why do some herbs thrive in the heat while others wilt and wither? And is flowering always ok with herbs?
You may hear that herb growing is one of the easiest projects to try in pots – but you can definitely increase your chances of success. Whether your herb garden ideas lean towards the whimsical, functional or adventurous, our tips will see you right.
Whether you’re unsure about which potted herbs grow best together, or what plants are suitable for a balcony herb garden, this go-to guide reveals our pick of canny tricks to keep container-based herbs flourishing – giving happier, tastier edibles for much, much longer!
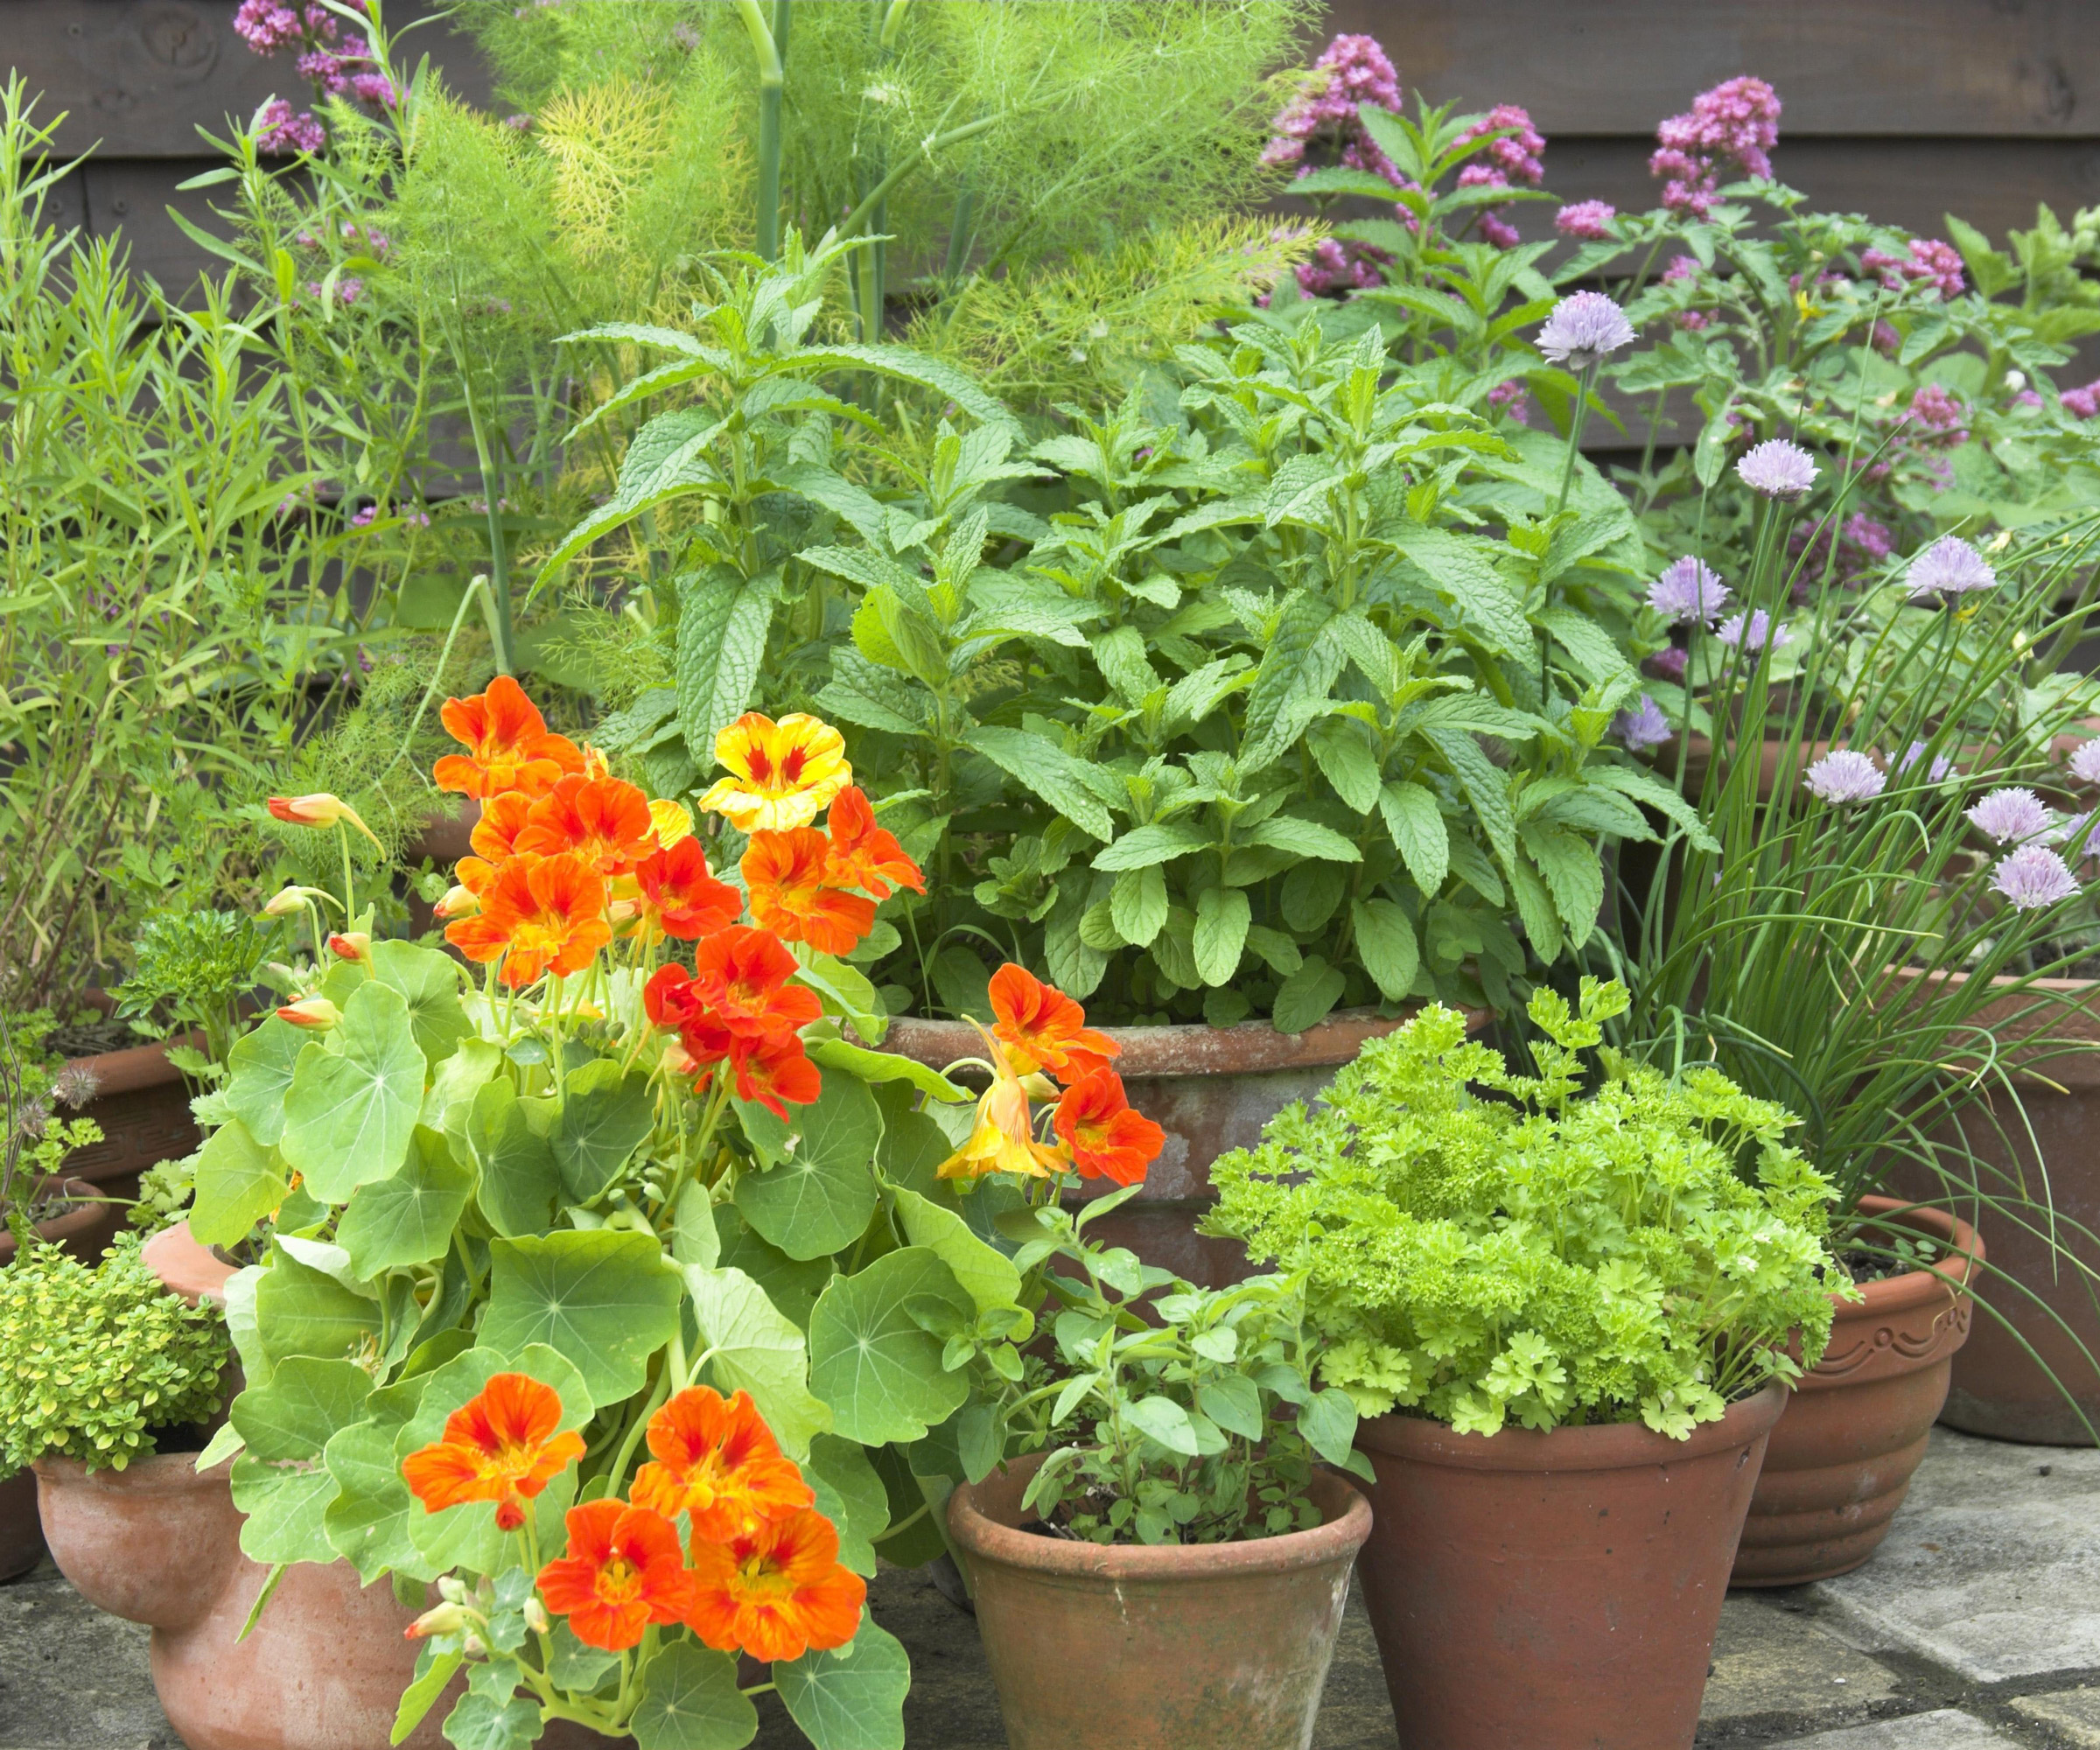
While it’s easy to get carried away with potted herb choices, there are several factors that can make or break their health and yield
10 steps to successfully growing herbs in pots
Before you rush to fill your kitchen garden with a bustling tumble of container-based herbs, take a beat. Having a fancy for a particular herb or style of herb planter is just the start. Sensible measures and guidelines make all the difference between sickly, awkward-looking specimens and robust, punchy-tasting pleasures.
Whether you are growing herbs indoors or out, this guide shows you how to grow herbs in pots for year-round flavor…
1. Choose the right location for potted herbs
Before giving any thought to the varieties available, your first step to success when growing herbs in pots is to consider the space you will be using. Outdoors, make a frank assessment of exposure to the elements, any sheltering walls or screens, potential for spacing pots, any obstructive elements and, crucially, light and heat sources. Just because you aren’t planting in the ground doesn’t mean location isn’t critical. Indoors, space, light and warmth will make or break your choices.
You may want to fill a corner of a small vegetable garden with well-positioned containers, or create a dedicated sensory garden – but these principles are basically the same. Primarily, you need to confirm which parts of your container herb garden will be prime spots for sunshine, and which are not.
Design expertise in your inbox – from inspiring decorating ideas and beautiful celebrity homes to practical gardening advice and shopping round-ups.
As Burpee’s horticultural specialist Nancy Awot-Traut explains, most potted herbs will require several hours (at least six) of full sunshine. ‘Monitor your garden space (ideally over a few days) to see how many hours of direct sunlight it receives each day,’ Nancy urges. If you have a south-facing garden you’re in luck – you’ll likely have corners for both direct sunshine and partial shade. A wide host of herbs, perennials and annuals, prefer full fun. Perennials such as sage and rosemary need sunlight to help produce the oils that make up those potent aromas. Other sun-seekers include basil, lavender, oregano and thyme.
Don’t despair if you have limited sun, says Emilie Caron, gardening enthusiast at West Coast Seeds. ‘If your space is in a not-so-sunny spot, some plants such as lemon balm will still grow happily,’ she says. Potted herbs such as chives, dill and parsley are also ok with partial shade. Because some herbs need more direct sun than others, do check seed pack information and website growing requirements where available.
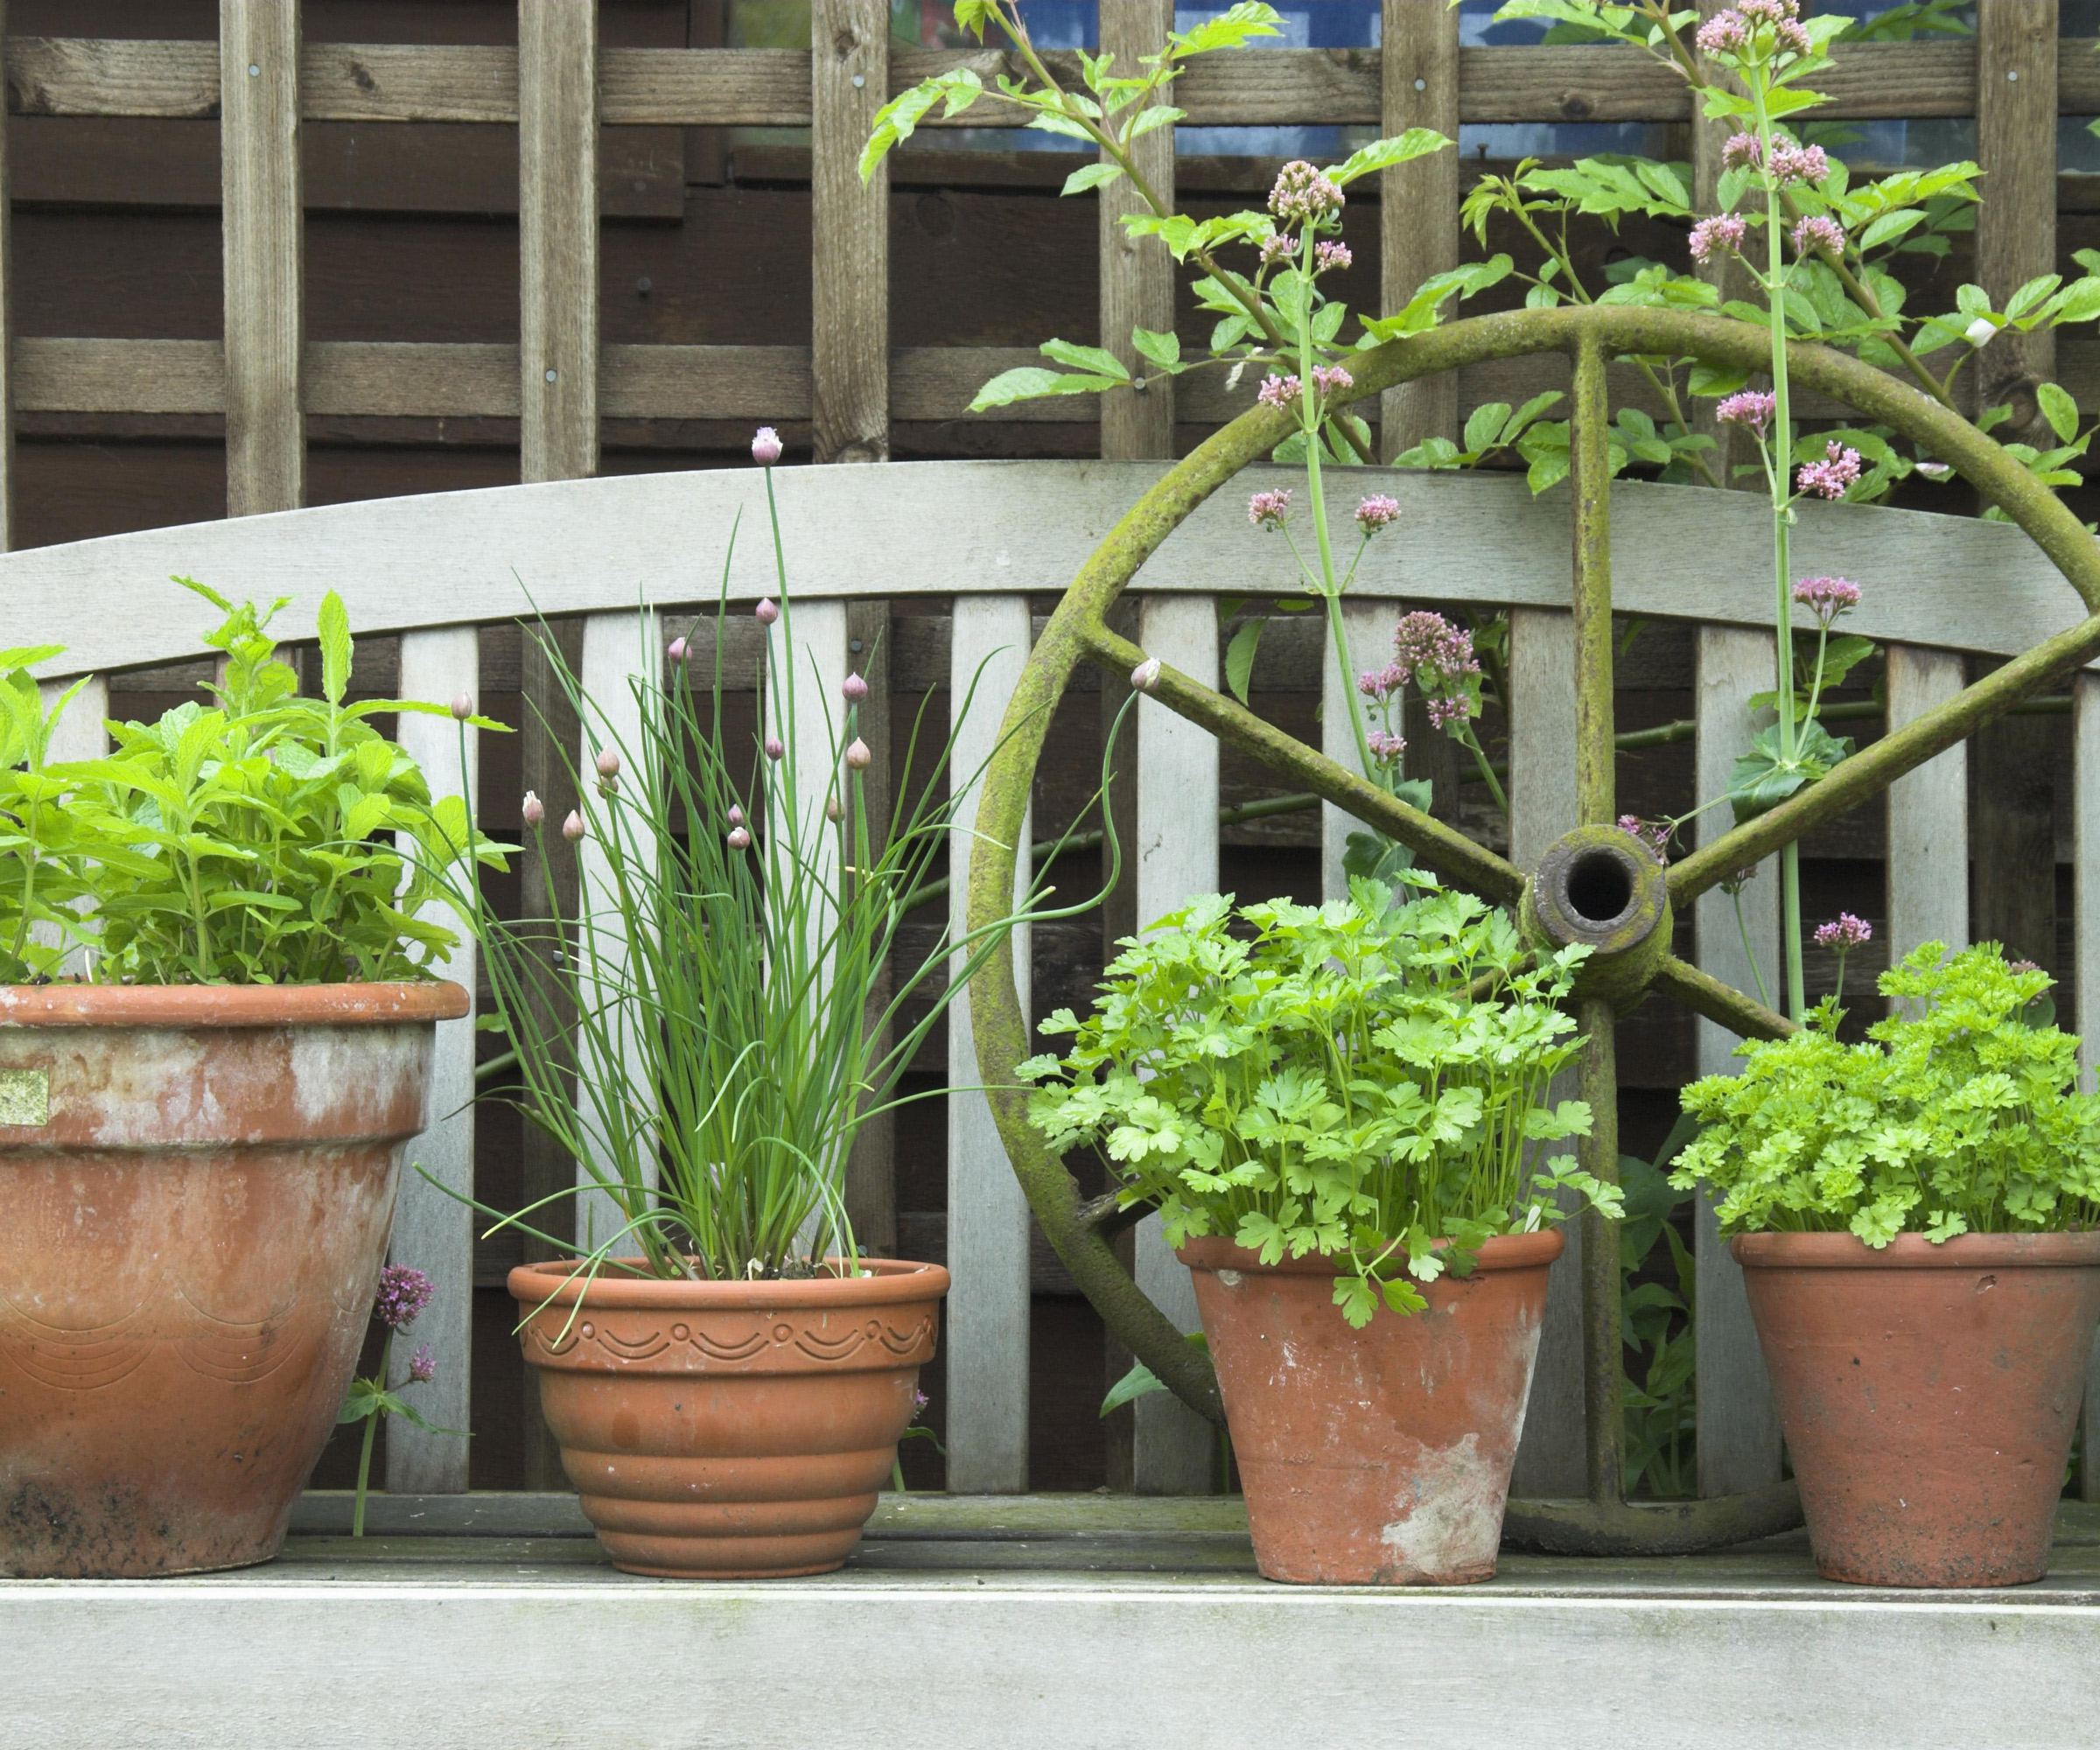
Herbs like parsley and chives can tolerate a bit more shade than other herbs
2. Pick the right herbs for your pots
Once you have a good idea of your gardening space, it’s easier to make informed choices based on the availability (or limitations) of the key growing requirements for the herbs you fancy. As well as consulting your seed pack when figuring out how to grow herbs in pots, it’s a good idea to swot up on the main herb categories. As Tomorrow Seeds’ expert Florence points out, this can help you decide which kind of herb you prefer to grow.
‘Herbs can be categorized into three groups: annuals, biennials, and perennials. Some examples of annuals are basil, dill, cilantro, savory and borage,’ says Florence. ‘Biennials, which form leaves in the first growing season, then flowers and seeds in the second season, include sage, parsley, chervil. Perennials, which typically grow slowly in the first year and gain vigor in the second year, die in the winter and grow back in the spring. Perennial herbs include rosemary, thyme, mint, fennel and oregano.’
If you are still undecided about which herbs to grow in pots, Homes & Gardens' herb expert Lucy Chamberlain recommends starting with culinary herbs: ‘Certain herbs (like mint) are invasive in open ground, so pot culture limits their spread,’ says Lucy. ‘For others, such as basil, thyme and rosemary, it’s the improved drainage offered by a container that they enjoy.’ She also rates sage, oregano, tarragon, bay, parsley, chives, coriander and lemongrass for container living.
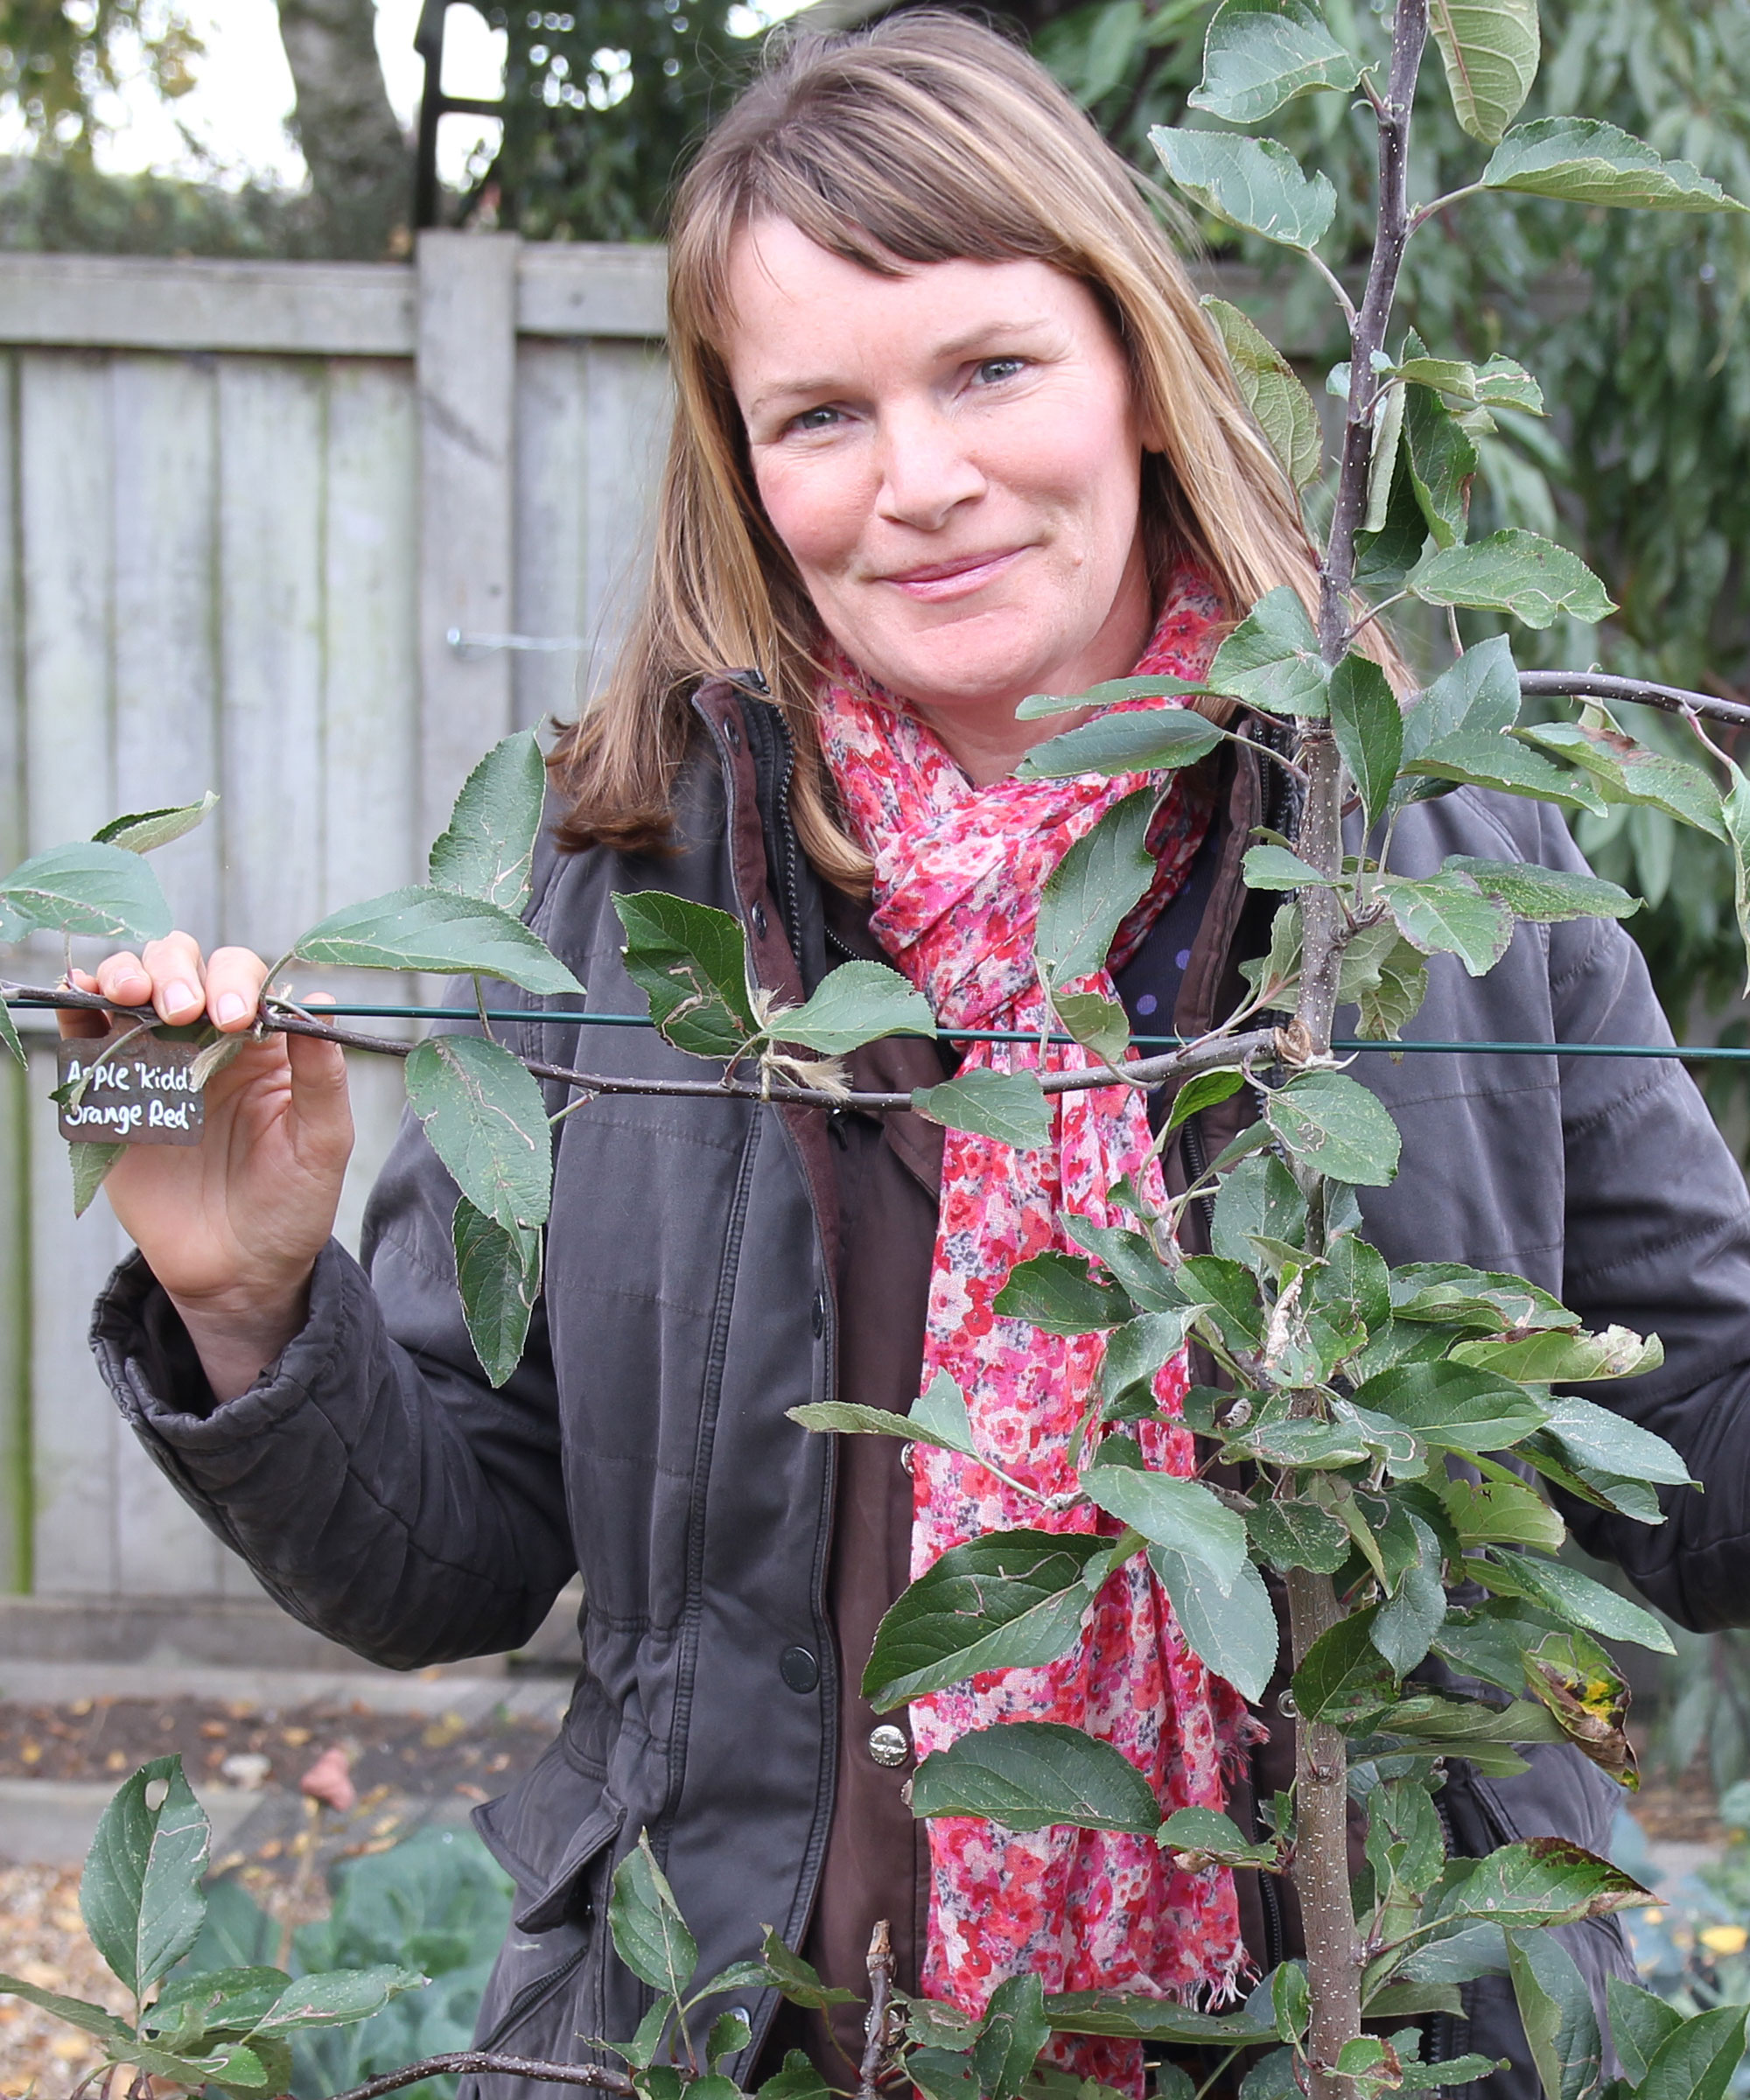
Lucy was a Horticultural Advisor at RHS Wisley and writes regularly for The Garden, Gardeners’ World, The Guardian and Amateur Gardening. She’s also the author of RHS Step by Step Veg Patch, which covers 50 types of fruit and veg. She is a passionate advocate of herb-based container gardening and is constantly trying out new combinations.
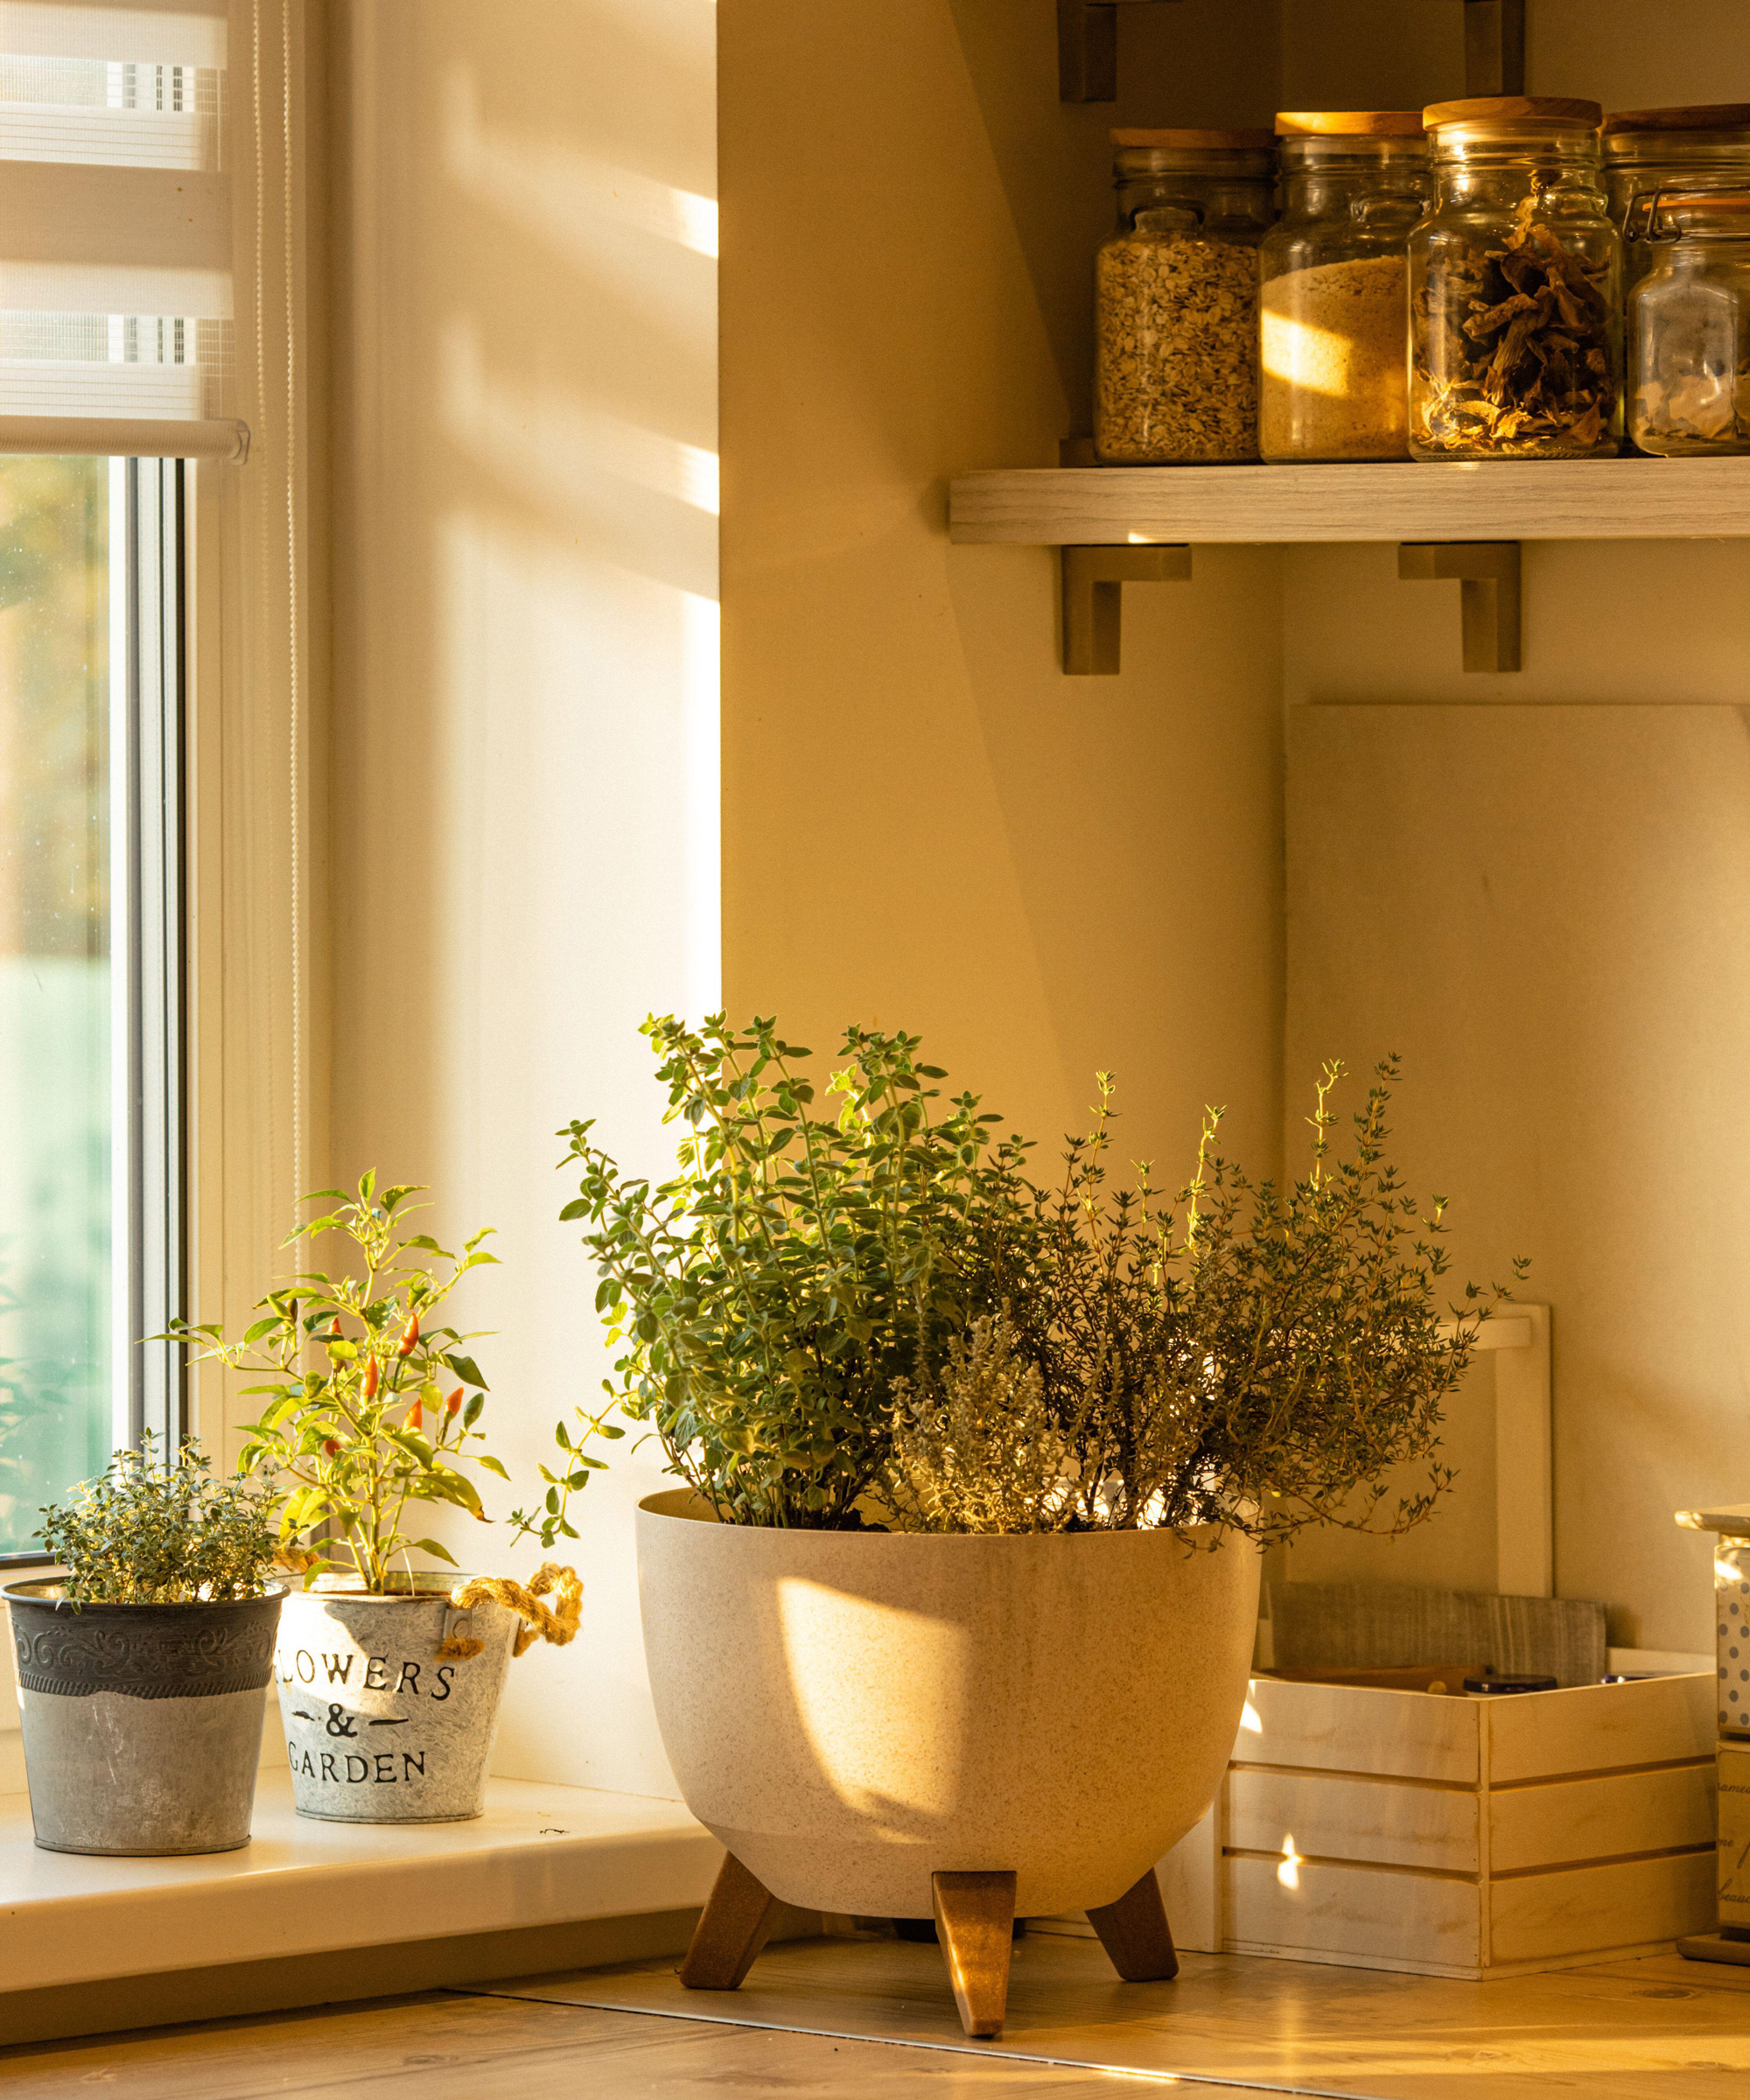
Herbs like thyme appreciate the improved drainage a pot can give
3. Pick the right pots for herbs
When deliberating growing herbs in pots, gardeners can get overwhelmed by choice. There are pros and cons with unglazed ceramic, wood, metal and plastic, but the one thing you must treat as sacrosanct is this: ‘All herbs planted in containers require drainage,’ says West Coast Seeds’ Emilie Caron. Even where pots don’t have this, Emilie says you can drill holes in the bottom, whether terracotta, metal or plastic. ‘You don’t want the roots of herbs to rot. Drainage holes will help avoid this, allowing excess water to drain out,’ she adds. You can assist with drainage by using pot feet to elevate containers, or placing pots on benches or crates.
Where you aren’t sure about which size of pot to use as part of your kitchen garden ideas, Burpee’s Nancy Awot-Traut has a helpful guide. ‘Select a container that is at least one-third as tall as the mature plant and half of its mature width,’ says Nancy. ‘Herbs can be grown individually in a pot, and you can grow several herbs in a 16-18in container.’ Adding a layer of grit or gravel to the base of pots is another good way to boost drainage, reducing the risk of root rot and fungal infection. Britney Price, gardening expert at West Coast Seeds, uses a 50/50 mix of cactus soil and potting soil to get improved drainage when growing rosemary in pots.
Regarding the tenacity of mint in pots, Britney has this to say: ‘Mint will try to escape containers by sending runners through drainage holes! Set the pot on a large paving stone to stop mint rooting through the holes or into seams in paving,’ says Britney.
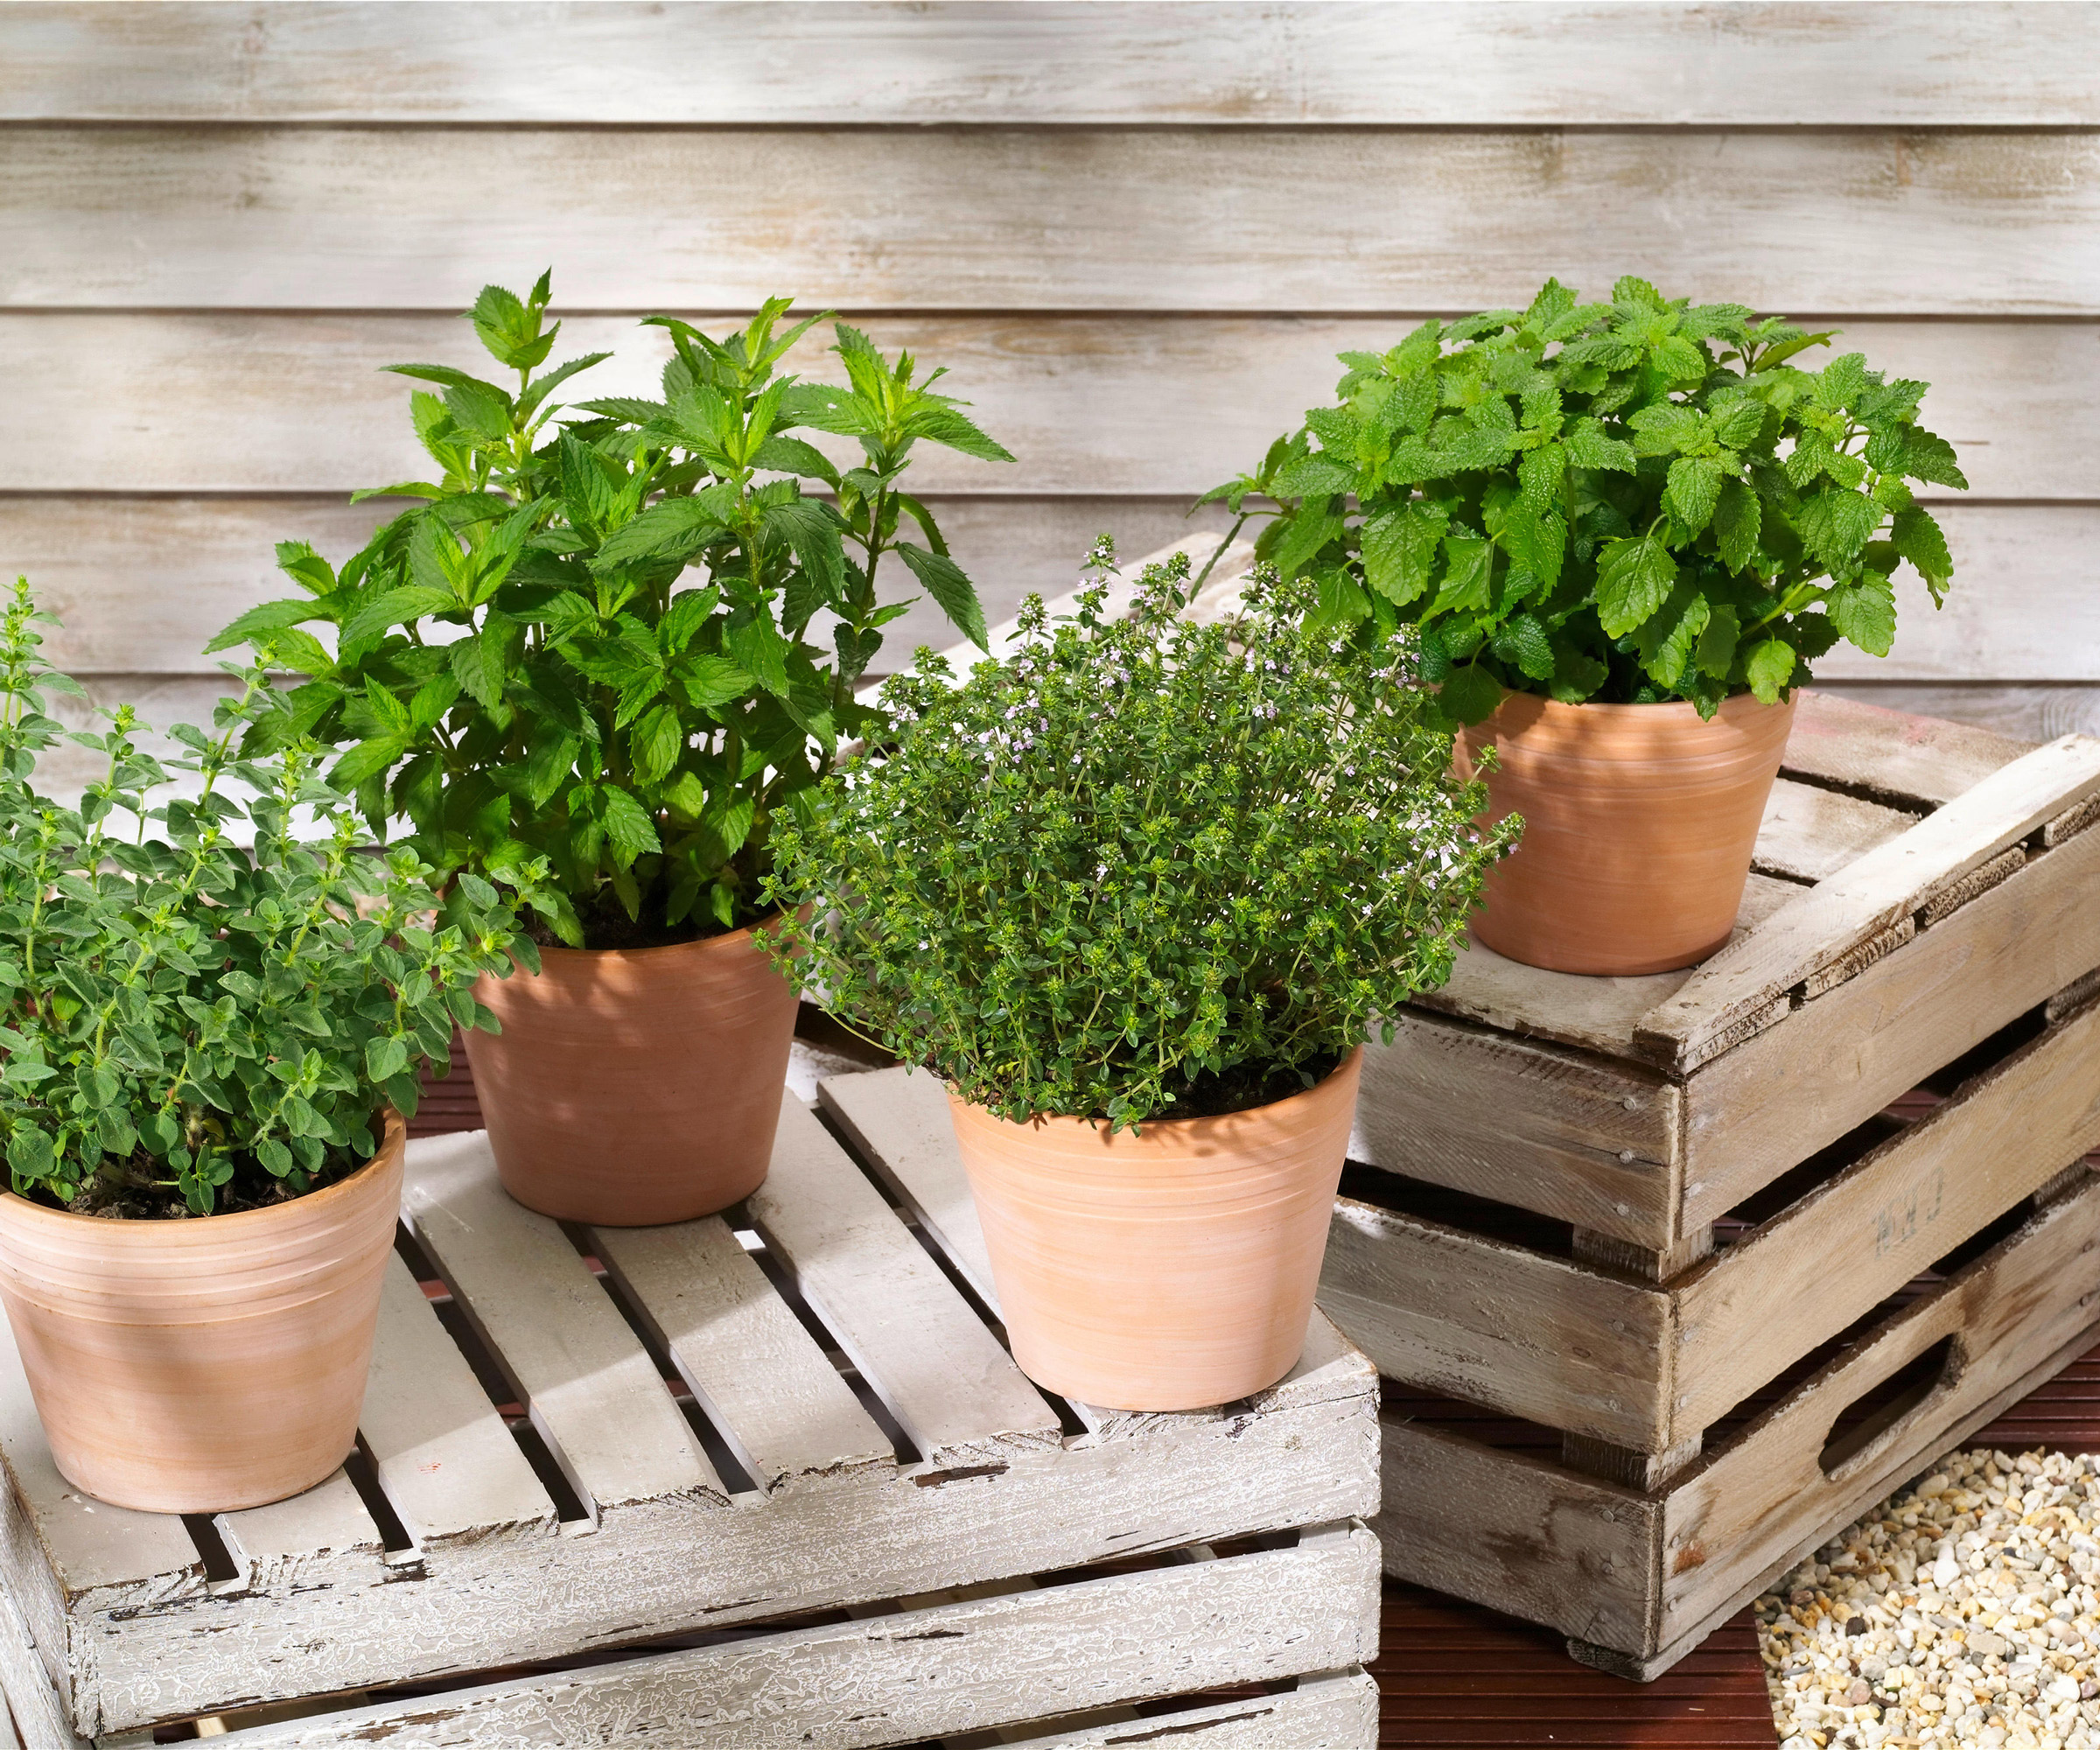
Decent drainage holes are essential for containers, but you can also boost drainage in creative ways
4. Choose herb partnerships for pots
One of the prettiest sights with potted herbs is the interplay of texture and color when mixing and matching different kinds. That’s not to say that all herbs play nice together in containers, though. For one thing, their intense fragrances can often work against each other, or cancel each other out. To say nothing of their varying comfort levels regarding sun or shade, or moisture. As Florence at Tomorrow Seeds points out: ‘It is best when herbs are grouped with other herbs with similar cultural and climate requirements.’
You may feel more confident focusing on a single herb and giving it free rein. This is a good strategy with mint, which is a fast grower and can quickly take over, as Nancy Awot-Traut indicates.
Other than oregano, mint is not a herb with massive partnership potential. Similarly, fennel is a bit of a loner and can make other herbs taste strange, so is best as a specimen. But don’t let this put you off joining forces elsewhere. For the most rewarding and harmonious companion planting combinations, here are the herbs to position alongside each other in pots:
- Cilantro, parsley and dill work well together as they all thrive in moist conditions and rely on deeper containers.
- Thyme, sage and oregano make a must-have combo for a Mediterranean garden, given their shared native origins.
- Parsley seems to get on well with all manner of herbs, so if you are stuck, this is the one to balance out herbs as diverse as chives, lemon balm, basil and lavender.
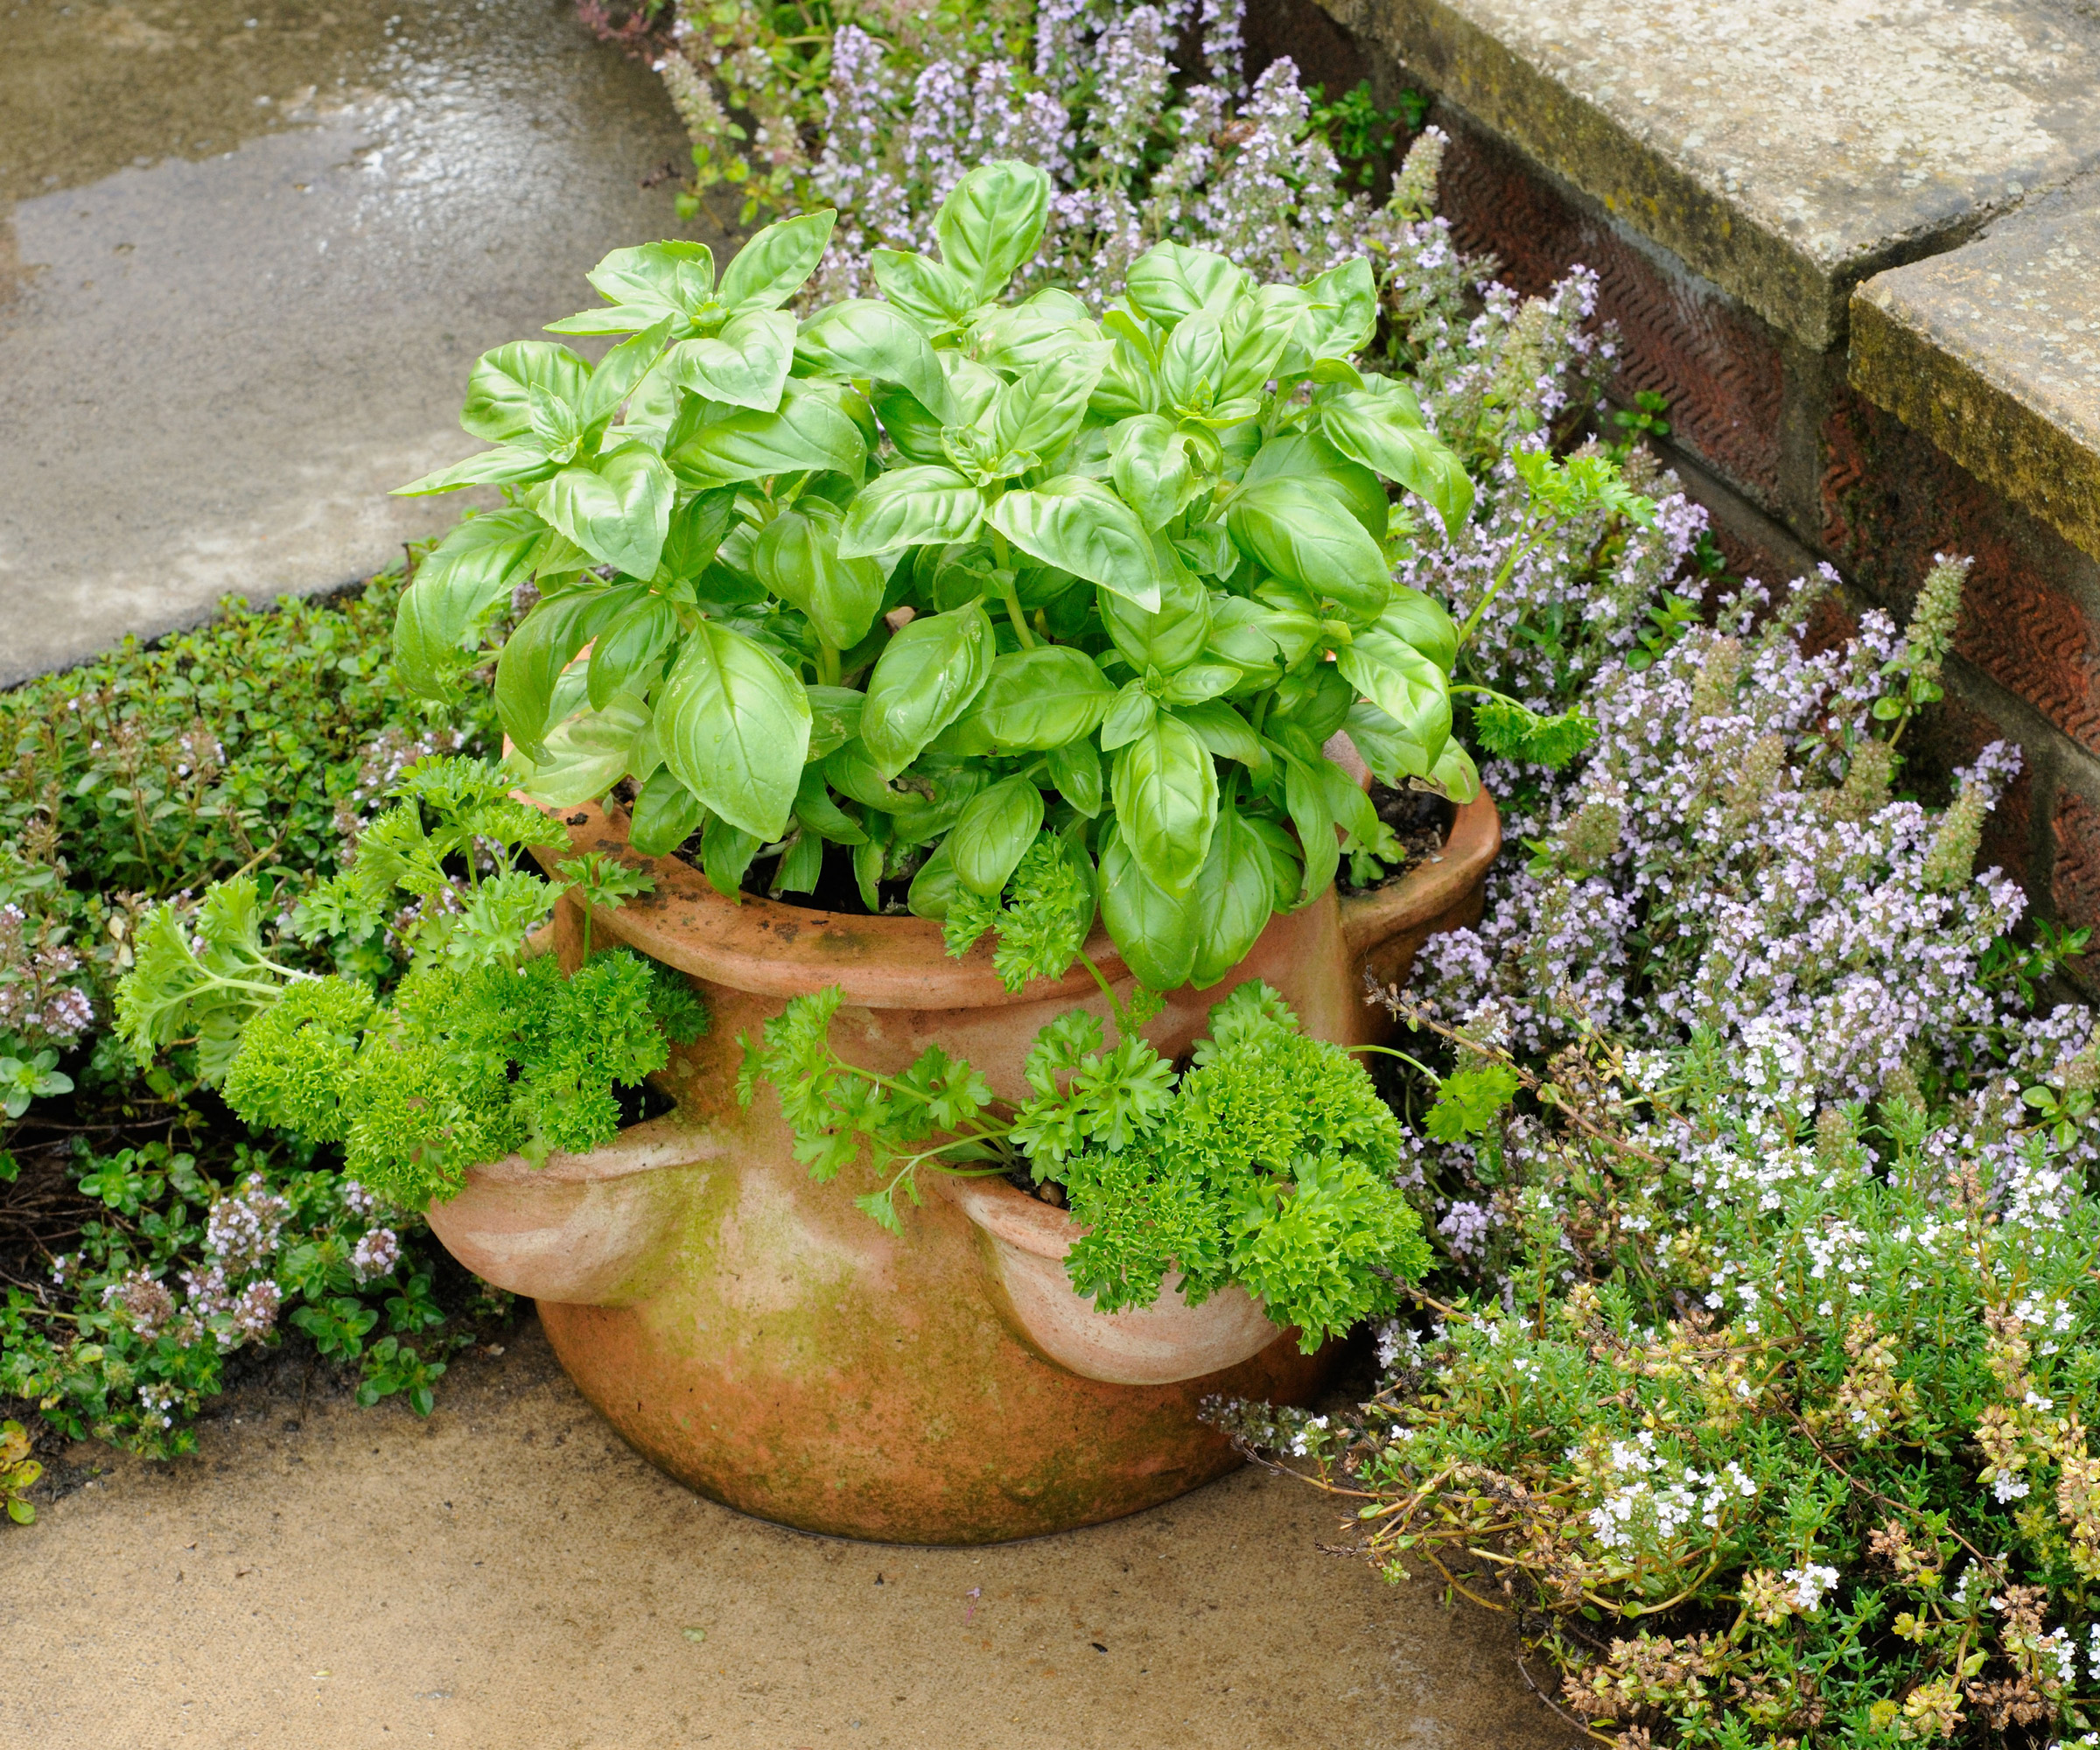
Basil and parsley make excellent planting partners as they both appreciate plenty of sunshine and moist compost
5. Pick the best planting times for potted herbs
When you start off your potted herbs will depend on whether you grow hardy (like rosemary, comfrey or thyme) or tender herbs (such as basil, angelica and cilantro). But the decision about when to plant herbs becomes easier if you have a propagator and can regulate temperatures in the first weeks of germination and development.
‘Most herbs are simple to start off in a heated propagator in April or May,’ says Lucy Chamberlain. Fill pots or modular trays with seed compost, water well, then scatter in pots or sow pinches in modules. However, it is imperative to check seed pack instructions for variations. ‘Lavender can benefit from being chilled, and savoury seeds don’t like to be covered over,’ she explains.
The approximate length of time it takes to grow herbs in pots will obviously have some impact on when you start them off or plant them. Quick-developers like basil have a relatively long starting window and can be sown in three-week bursts until late summer for extended harvests. Lucy still suggests waiting until late spring, unless you have a warm greenhouse, as basil can rot in chilly weather.
Several tender varieties are vulnerable to root damage if planted too early in the year. If you wait until May to sow indoors, you can put the resulting seedlings in pots outside from June (or you can sow in pots outside for herbs like sage and mint). By comparison, a herb like parsley is slower to develop. For this reason, it’s worth starting a little earlier (undercover). ‘Sow parsley in February and set the propagator to 59˚F,’ says Lucy.
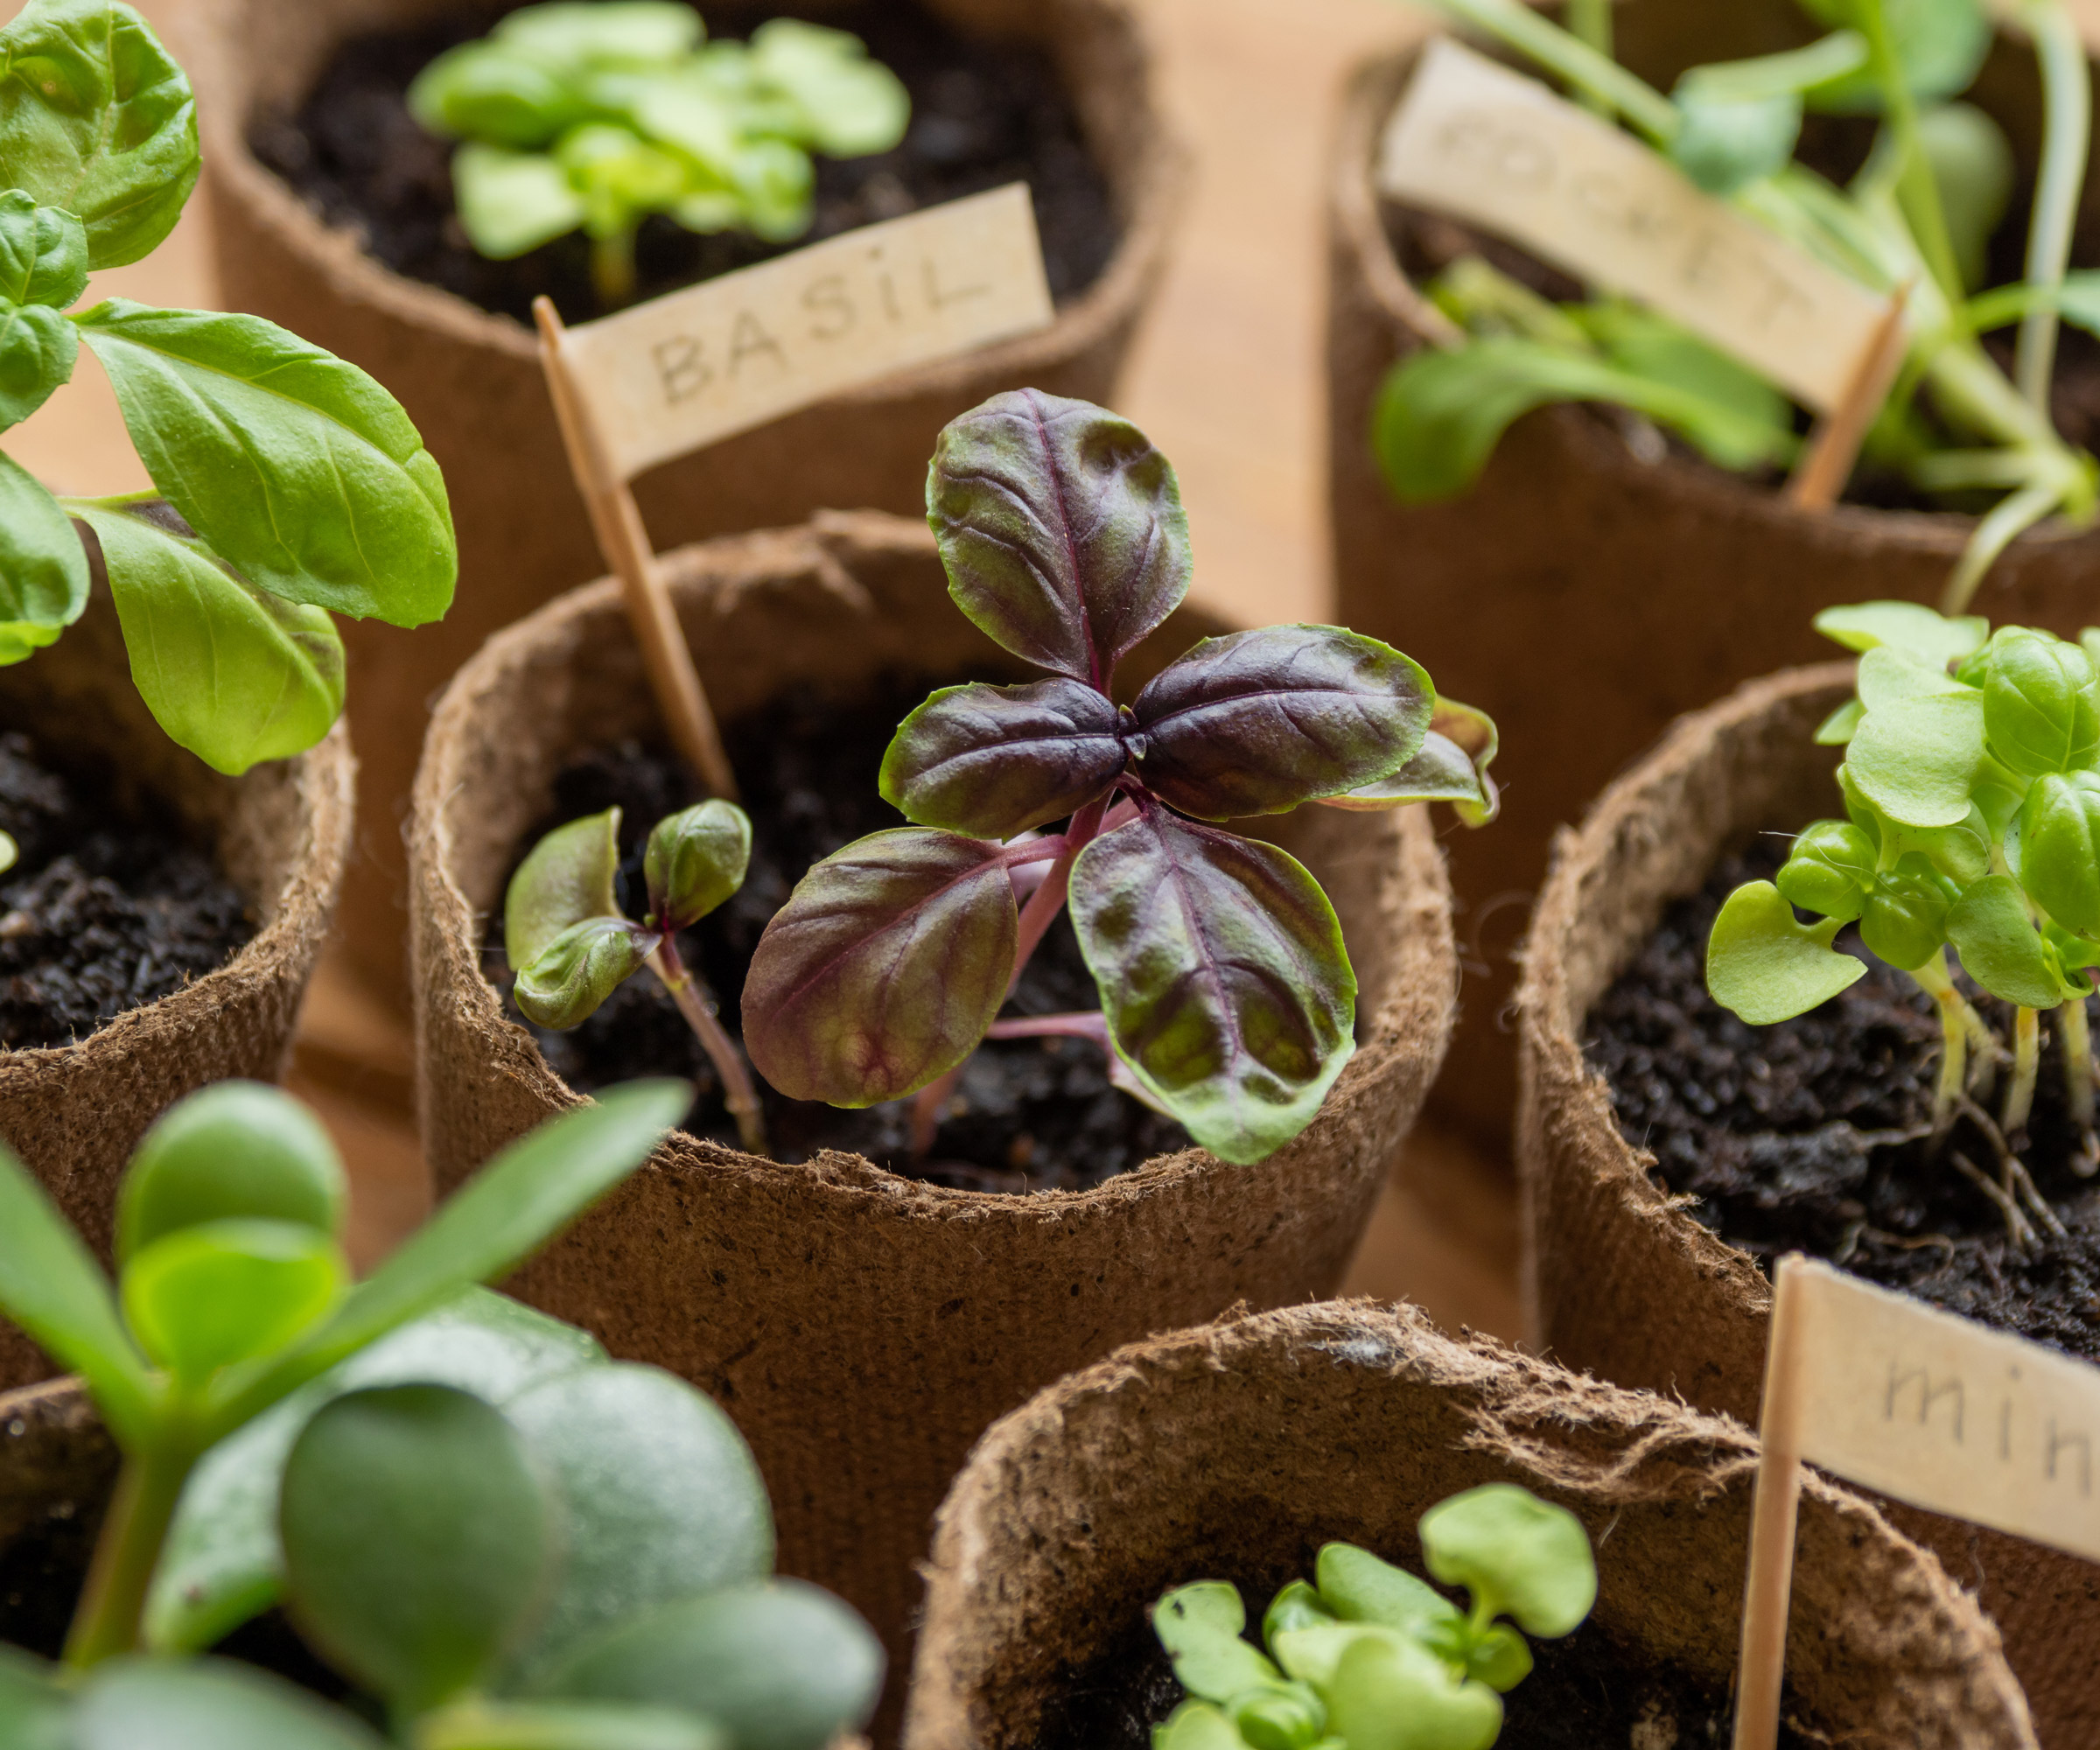
It’s best to wait until April to sow basil as it can rot off in chilly weather
6. Water and feed according to need
Hydration can feel like something you do on automatic pilot, but when you are growing herbs in pots, knowing when to water plants is critical. Depending on variety and temperature, you need to adjust your watering habits. Herbs are more likely to dry out sooner in containers, although this does not mean you should be wetting the roots every day. Generally speaking, it’s better to give container-based herbs a deep soak once or twice a week, rather than a light sprinkle every day. As Lucy says, potted herbs don’t mind a little drought, but don’t let them dry out completely.
‘One of the most common herb gardening mistakes involves watering plants,’ says Nancy Awot-Traut. ‘Sticking to a "watering schedule" can cause you to over- or under-water herbs.’
Nancy suggests regularly checking the soil with the tip of a finger to judge moisture at the top level of the soil, then watering as needed. Florence at Tomorrow Seeds also recommends using drip irrigation to better manage your water needs. ‘Drip irrigation is an automatic watering system which can be used for containers,’ says Florence. ‘It keeps the root area moist and reduces soil splatter, keeping leaves cleaner,’ she adds. Lucy points out that adding water-retaining granules to pots can help lock onto moisture when you irrigate. You can also sink water ‘reservoirs’ around the bases of thirsty plants, using upturned plastic bottles with the bases removed, or similar.
As with other potted edibles, watering early in the morning close to the base of the plant is a good way to ensure that the goodness gets to the roots before things heat up. You can also add a liquid feed once a month during the growth season. Choose a balanced fertilizer for healthy leaf growth, as feeds that are potassium-heavy encourage flowering.
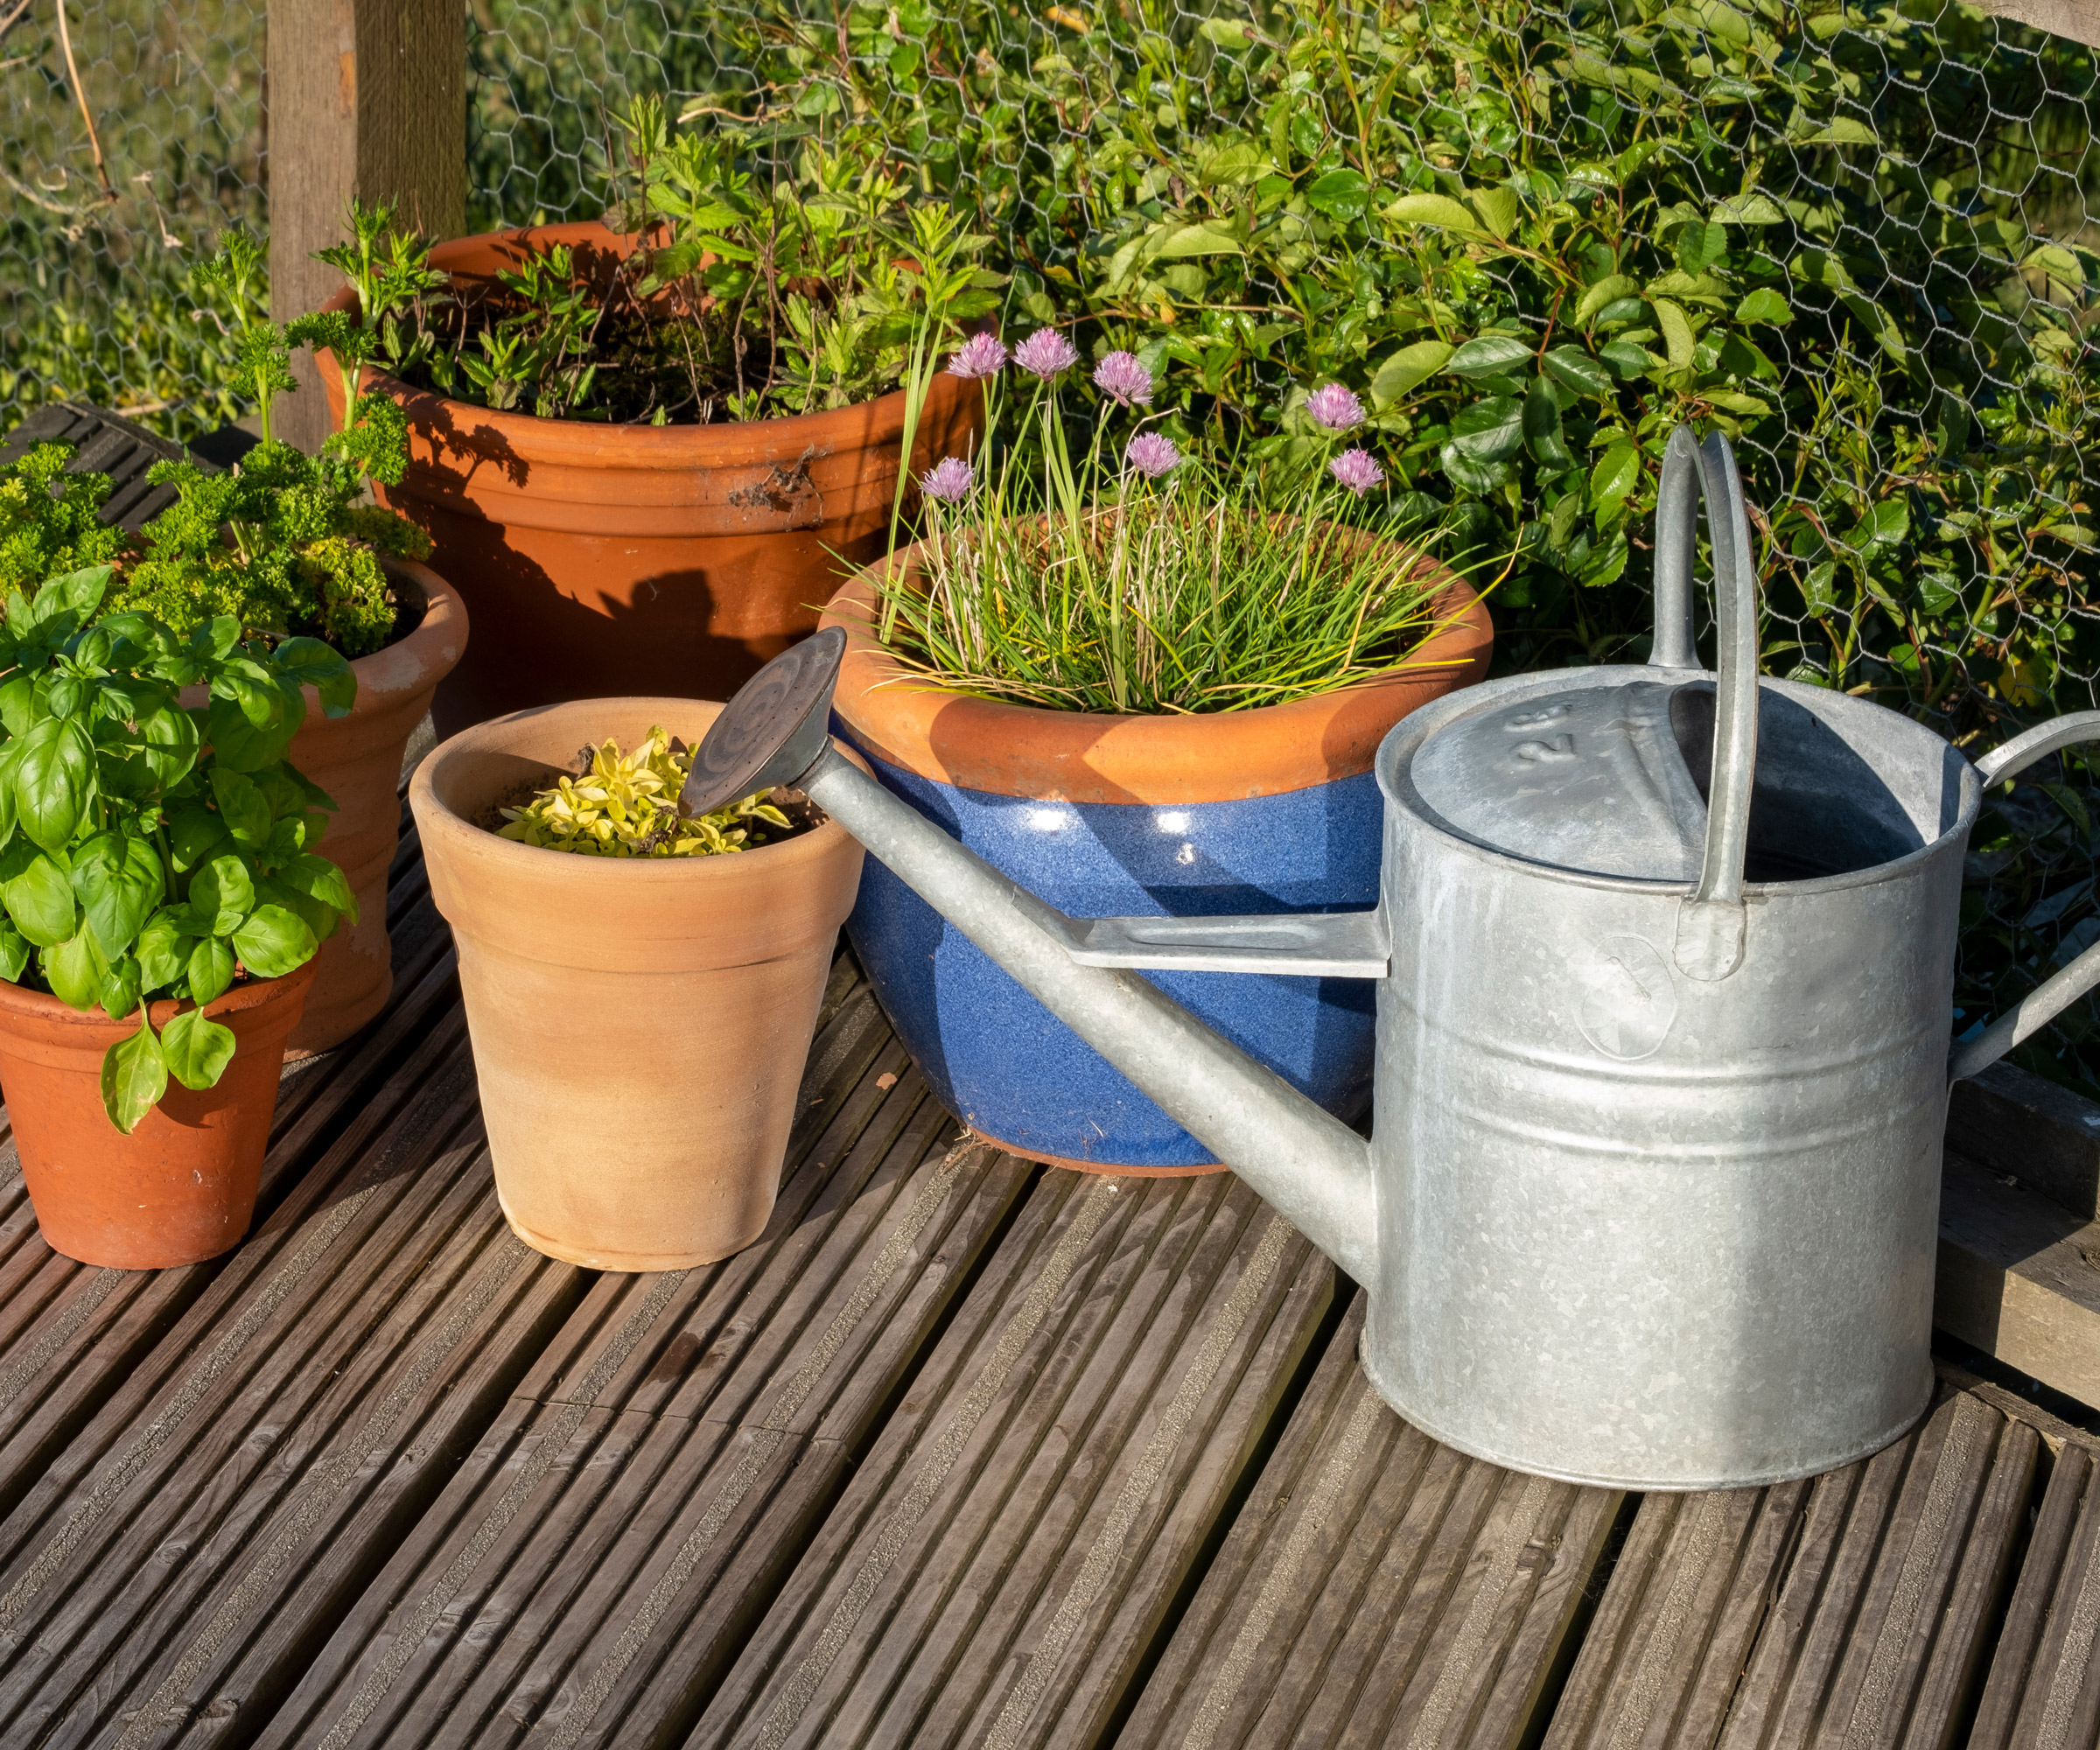
Container herbs need watering more often than ground-based plantings, and this intensifies over the summer months
7. Keep bugs at bay
Yes, sadly, you won’t be the only herb-lover itching to devour your homegrown potted edibles. Although container-based herbs are less likely to be beset by slugs and snails than ground-based plantings, they are not immune to pests such as spider mites and whitefly. Bugs like whitefly generally cause more grief under glass where conditions get hot and dry. The big foe when growing herbs in pots is aphids, which like young growth and lush, leafy herbs like basil. Keeping pots of herbs well spaced is one easy way to keep the threat of aphids at bay, as they love crowded growth.
Outside, natural predators manage pest populations organically; aphids can be kept in check if allowed outdoors exposure to lacewings and ladybugs. That said, if you want to get rid of aphids you can give nature a helping hands. Some gardeners use a blend of orange and cedar oil, a few like garlic spray, while others swear by diluted neem oil. Alternatively, try squirting a mild solution of clove, rosemary, thyme and peppermint onto affected plants every day. Or try a quick blast of water every other day for a couple of weeks.
Play it safe if you want to reduce your risks of falling foul of bugs. As Homes & Gardens' gardening editor Ruth Hayes points out, if you are re-using pots, clean them thoroughly. ‘Always make sure you remove the old plant material that could be harbouring disease,’ says Ruth. ‘You should also check the compost carefully for pests and snail eggs laid close to the edge of the pot and among the roots of plants.’. There are a few different ways of cleaning containers, depending on whether you opt for organic controls or more old-fashioned means (diluted washing-up detergent). Just make sure all containers are sterilized with hot water.
Perennial herbs tend to be hardier and less likely to succumb to pests. You will also find a little judicious companion planting (with one plant helping to keep pests from another) can work wonders. Deter aphids from more vulnerable herbs by growing them near chives, dill, nasturtiums and mint.
Ruth is horticulturally trained and has qualifications from the Royal Horticultural Society. She spends her days writing about and photographing key gardening jobs, and always enjoys sowing a wide range of herb seeds in her own garden.
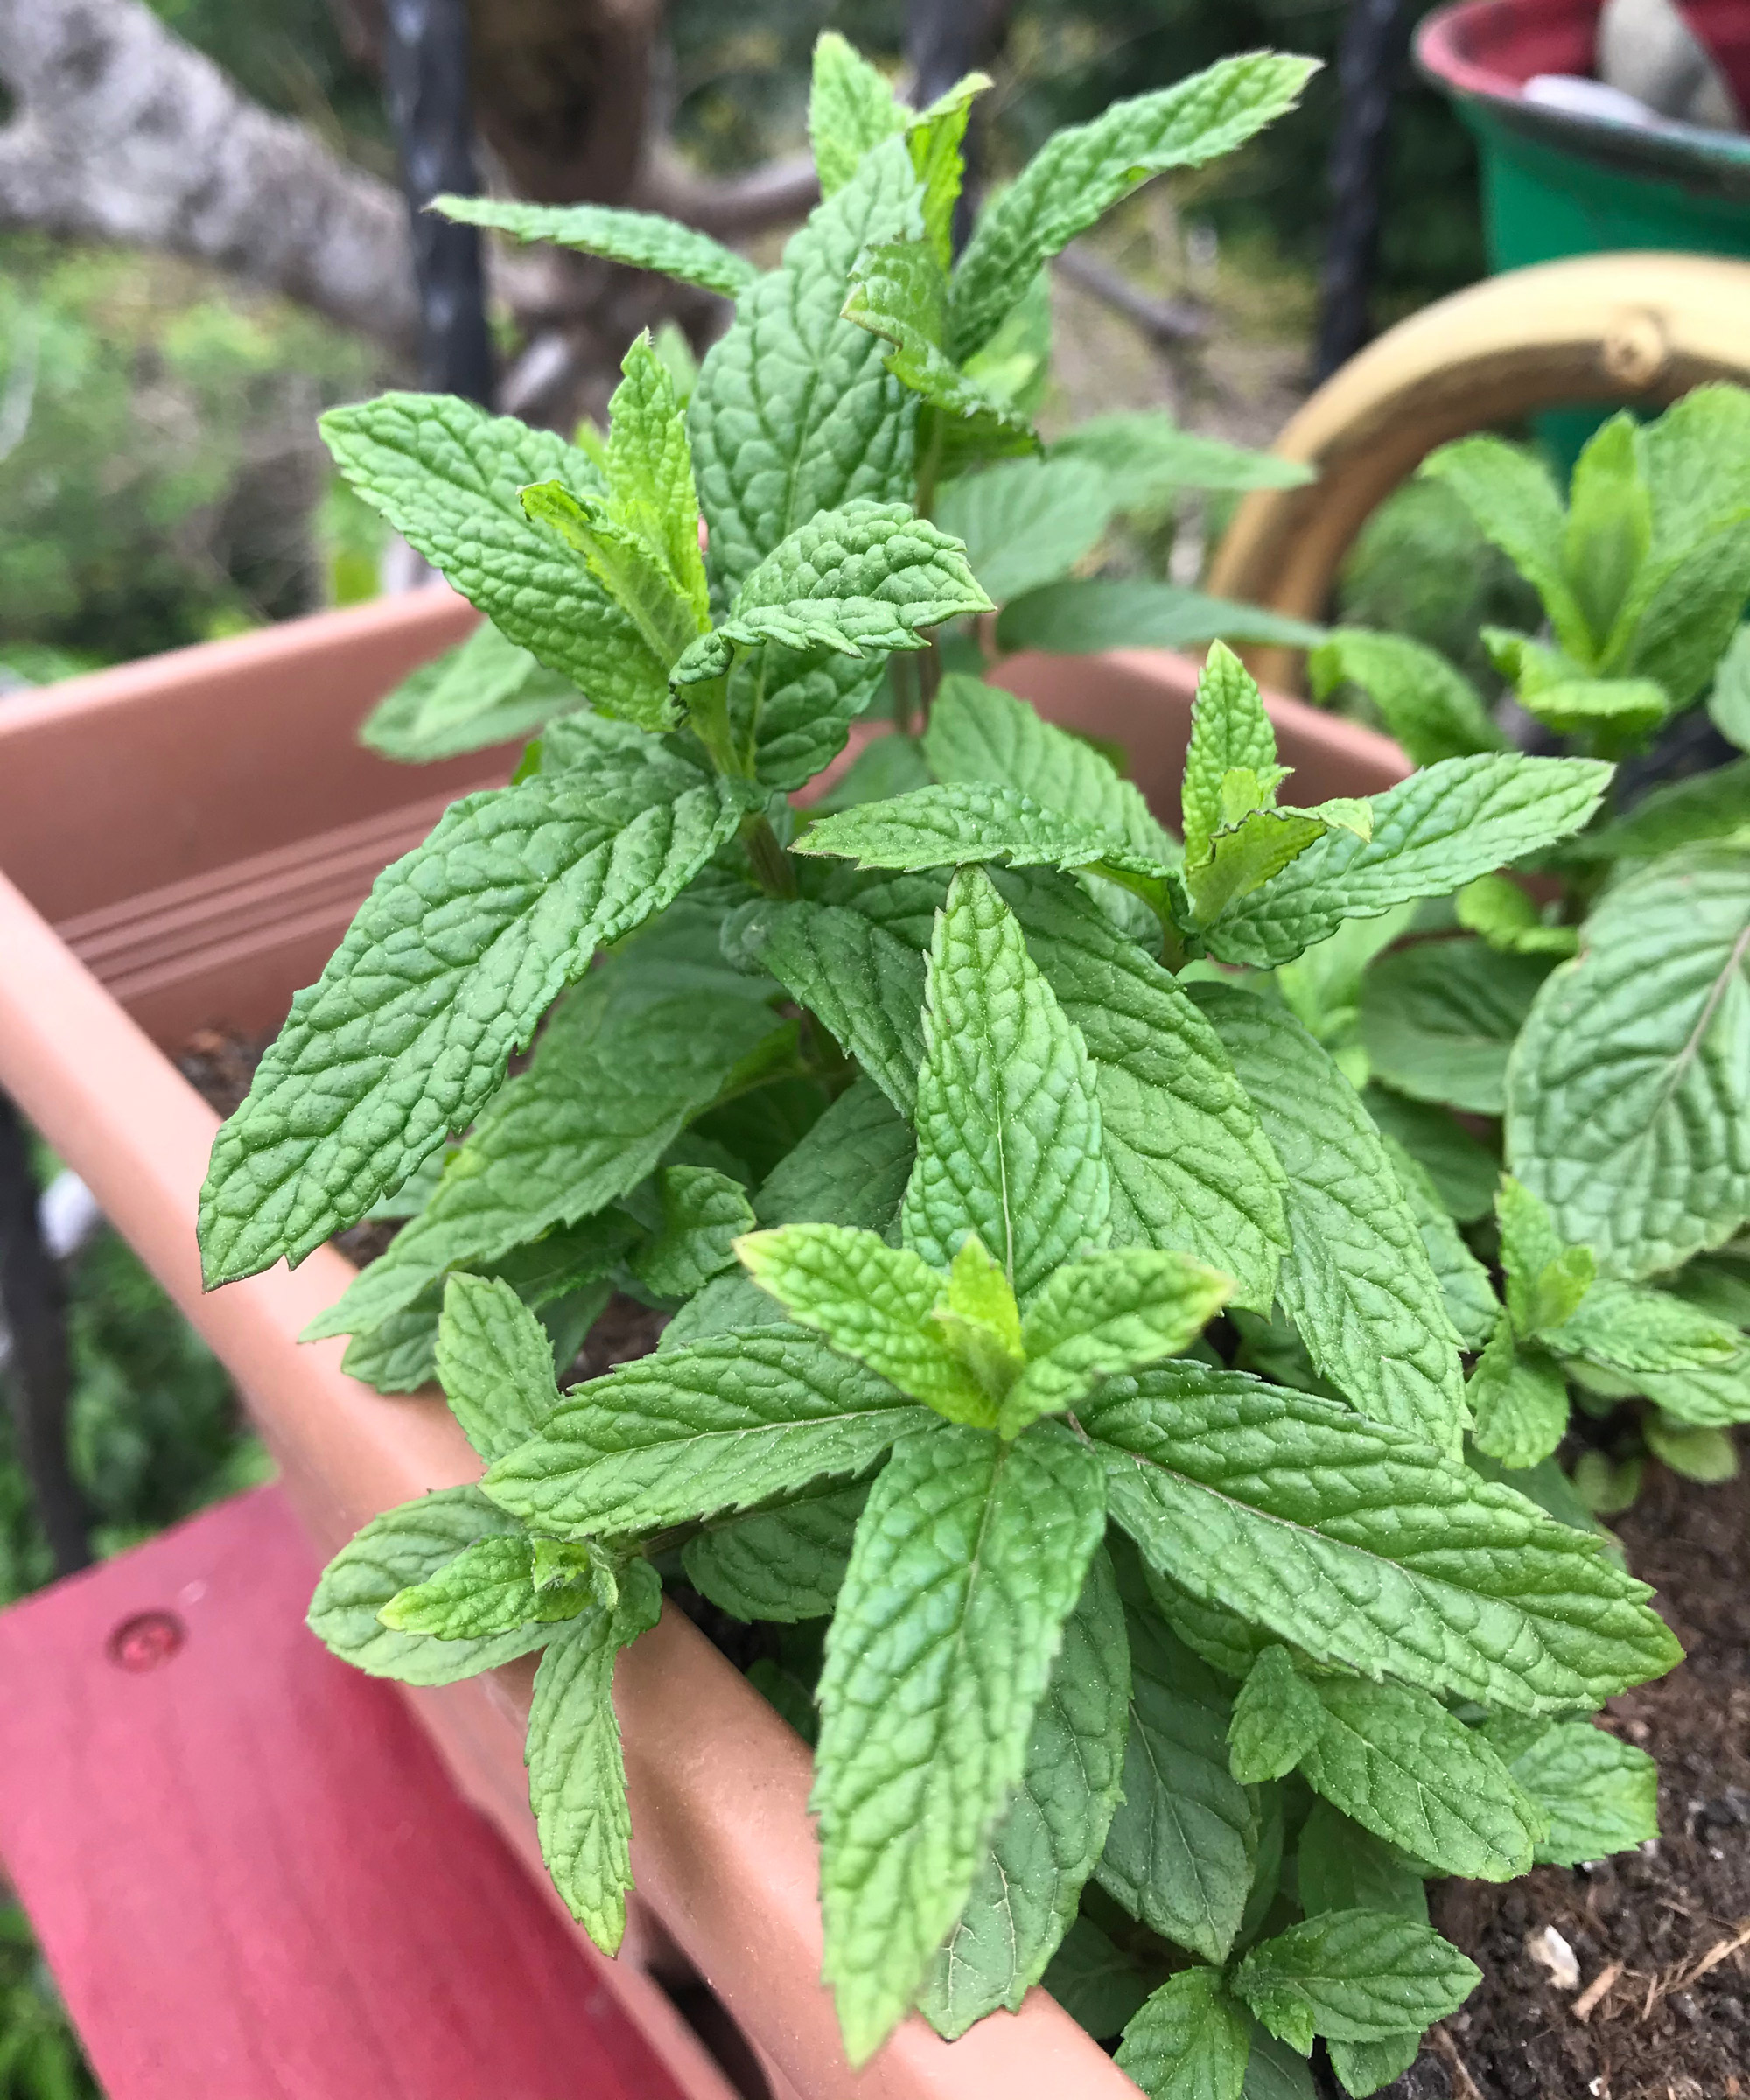
Potted perennials like mint are hardier and less likely to succumb to pest like aphids
8. Pick, snip and pinch
When it comes to harvesting container-based herbs, start taking those leaves as soon as you see a healthy, bushy aspect. In most cases, this will encourage fresh growth, and quickly with fast-growers like basil and cilantro. The main rule is to take no more than a third of the plant. More than that, and your plant will struggle to regenerate and will conk out. There are a few exceptions when you grow herbs in pots: perennials like oregano can be cut back hard once during the growing season.
Another great tip for harvesting container herbs is to harvest at the 'sweet spot' of the day, between mid-morning and early afternoon. Potted herbs tend to be most loaded with essential oils then, which means they are less likely to sustain molecular damage. Aim to cut or pick just above a node. Harvest with one eye on the structure of your herb to prevent collapse or uneven regrowth, and ensure new leaves receive optimum sunshine.
Generally, take leaves from the outer parts of your potted herbs. When harvesting plants like rosemary and lavender, take care to avoid cutting into the woody stems. Chives respond best to shearing, snipping a few inches above the baseline. You can also cut from the base when harvesting parsley and cilantro. Snipping ensures a cleaner cut, though you can remove leaves from herbs like basil by 'tearing' as long as you don’t drag the plant.
Nipping at the tips also helps encourage fresh growth in tender herbs. ‘As your plants grow, keep pinching them out,’ says Lucy Chamberlain. ‘As well as providing harvests, this stops woodiness and delays flowering.’ The more you pick and pinch during the growing season, the more you can enjoy. Remember: if you don't use it, you’ll lose it…
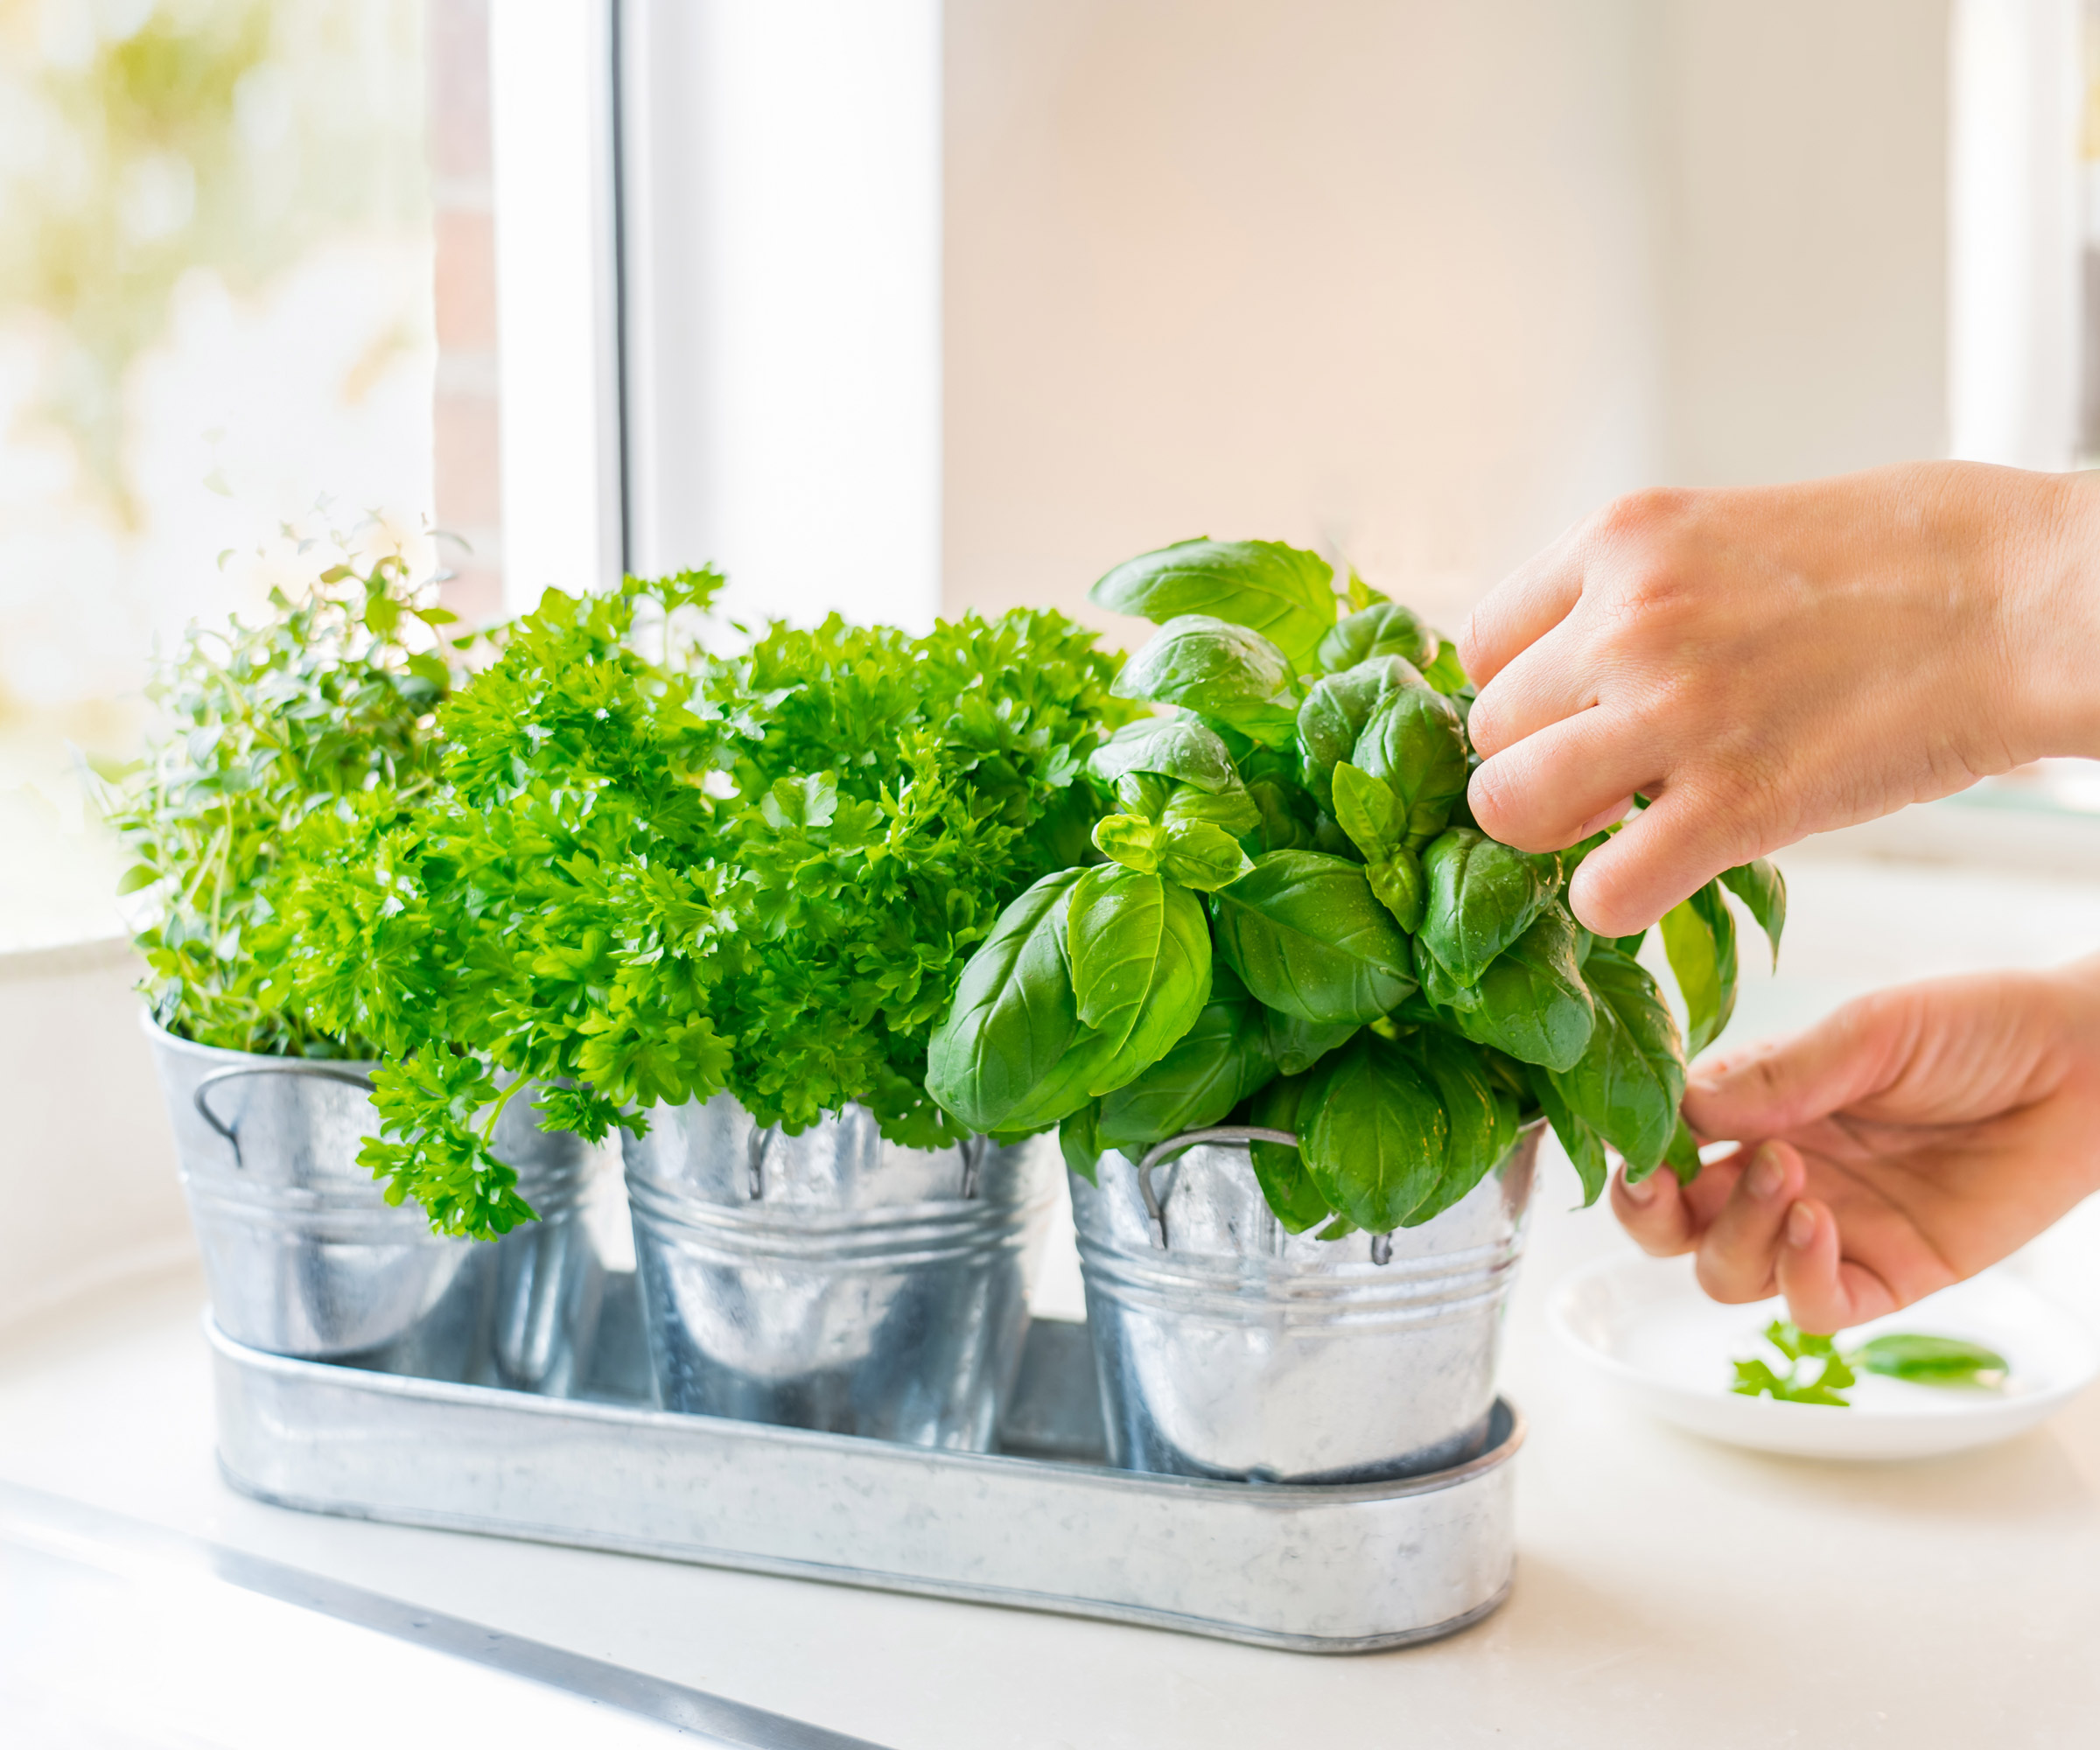
You can either harvest herbs by snipping for a clean cut, or by ‘tearing’ leaves from more lush-leaved herbs like basil
9. Understand how flowering can affect taste
If you're used to seeing drifts of blooming lavender and bobbing purple heads of chive blooms, you may think flowering is always meant to happen with herbs. What’s more, you might be hoping container-grown herb blooms can offer up an additional edible treat. Well, yes and no. While growing herbs in pots often gives you a chance to dish up some delicious edible flowers, it’s also possible that the blooms might compromise the potency and productivity of the whole plant.
It’s important to identify whether the herbs you have selected to grow in containers are ‘flowering’ types or not. Certain herbs aren’t meant to flower, but get ‘forced’ into flower because of some perceived extreme in their growing environment. This could be an extended period of heat, or the fact that leaves haven’t been harvested at the correct time. This phenomenon is known as bolting. When aromatic herbs that aren’t supposed to flower do flower, it marks the beginning of the end of the life of the plant, unless you take action. So if you are growing herbs in pots, it’s crucial to apply a mixture of pinching and harvesting (as described above) to keep fresh leaves coming. You also need to identify the source of stress in good time (so if there is a hot, dry spell, hydrate and reposition).
It’s also helpful to know which herbs are naturally inclined to flower, and which ones should be prevented from bolting. Otherwise, they will make the potted herbs taste funny, or stop producing altogether. Some of the most common herbs to flower only if they bolt are parsley and cilantro. Luckily, if you are growing basil, chives, sage or thyme, fear not: these will flower in pots and the flowers will be edible and won’t affect the leaves. However, if you’re growing herbs for culinary purposes, it might be wise to snip flowers if you want more foliage to develop.
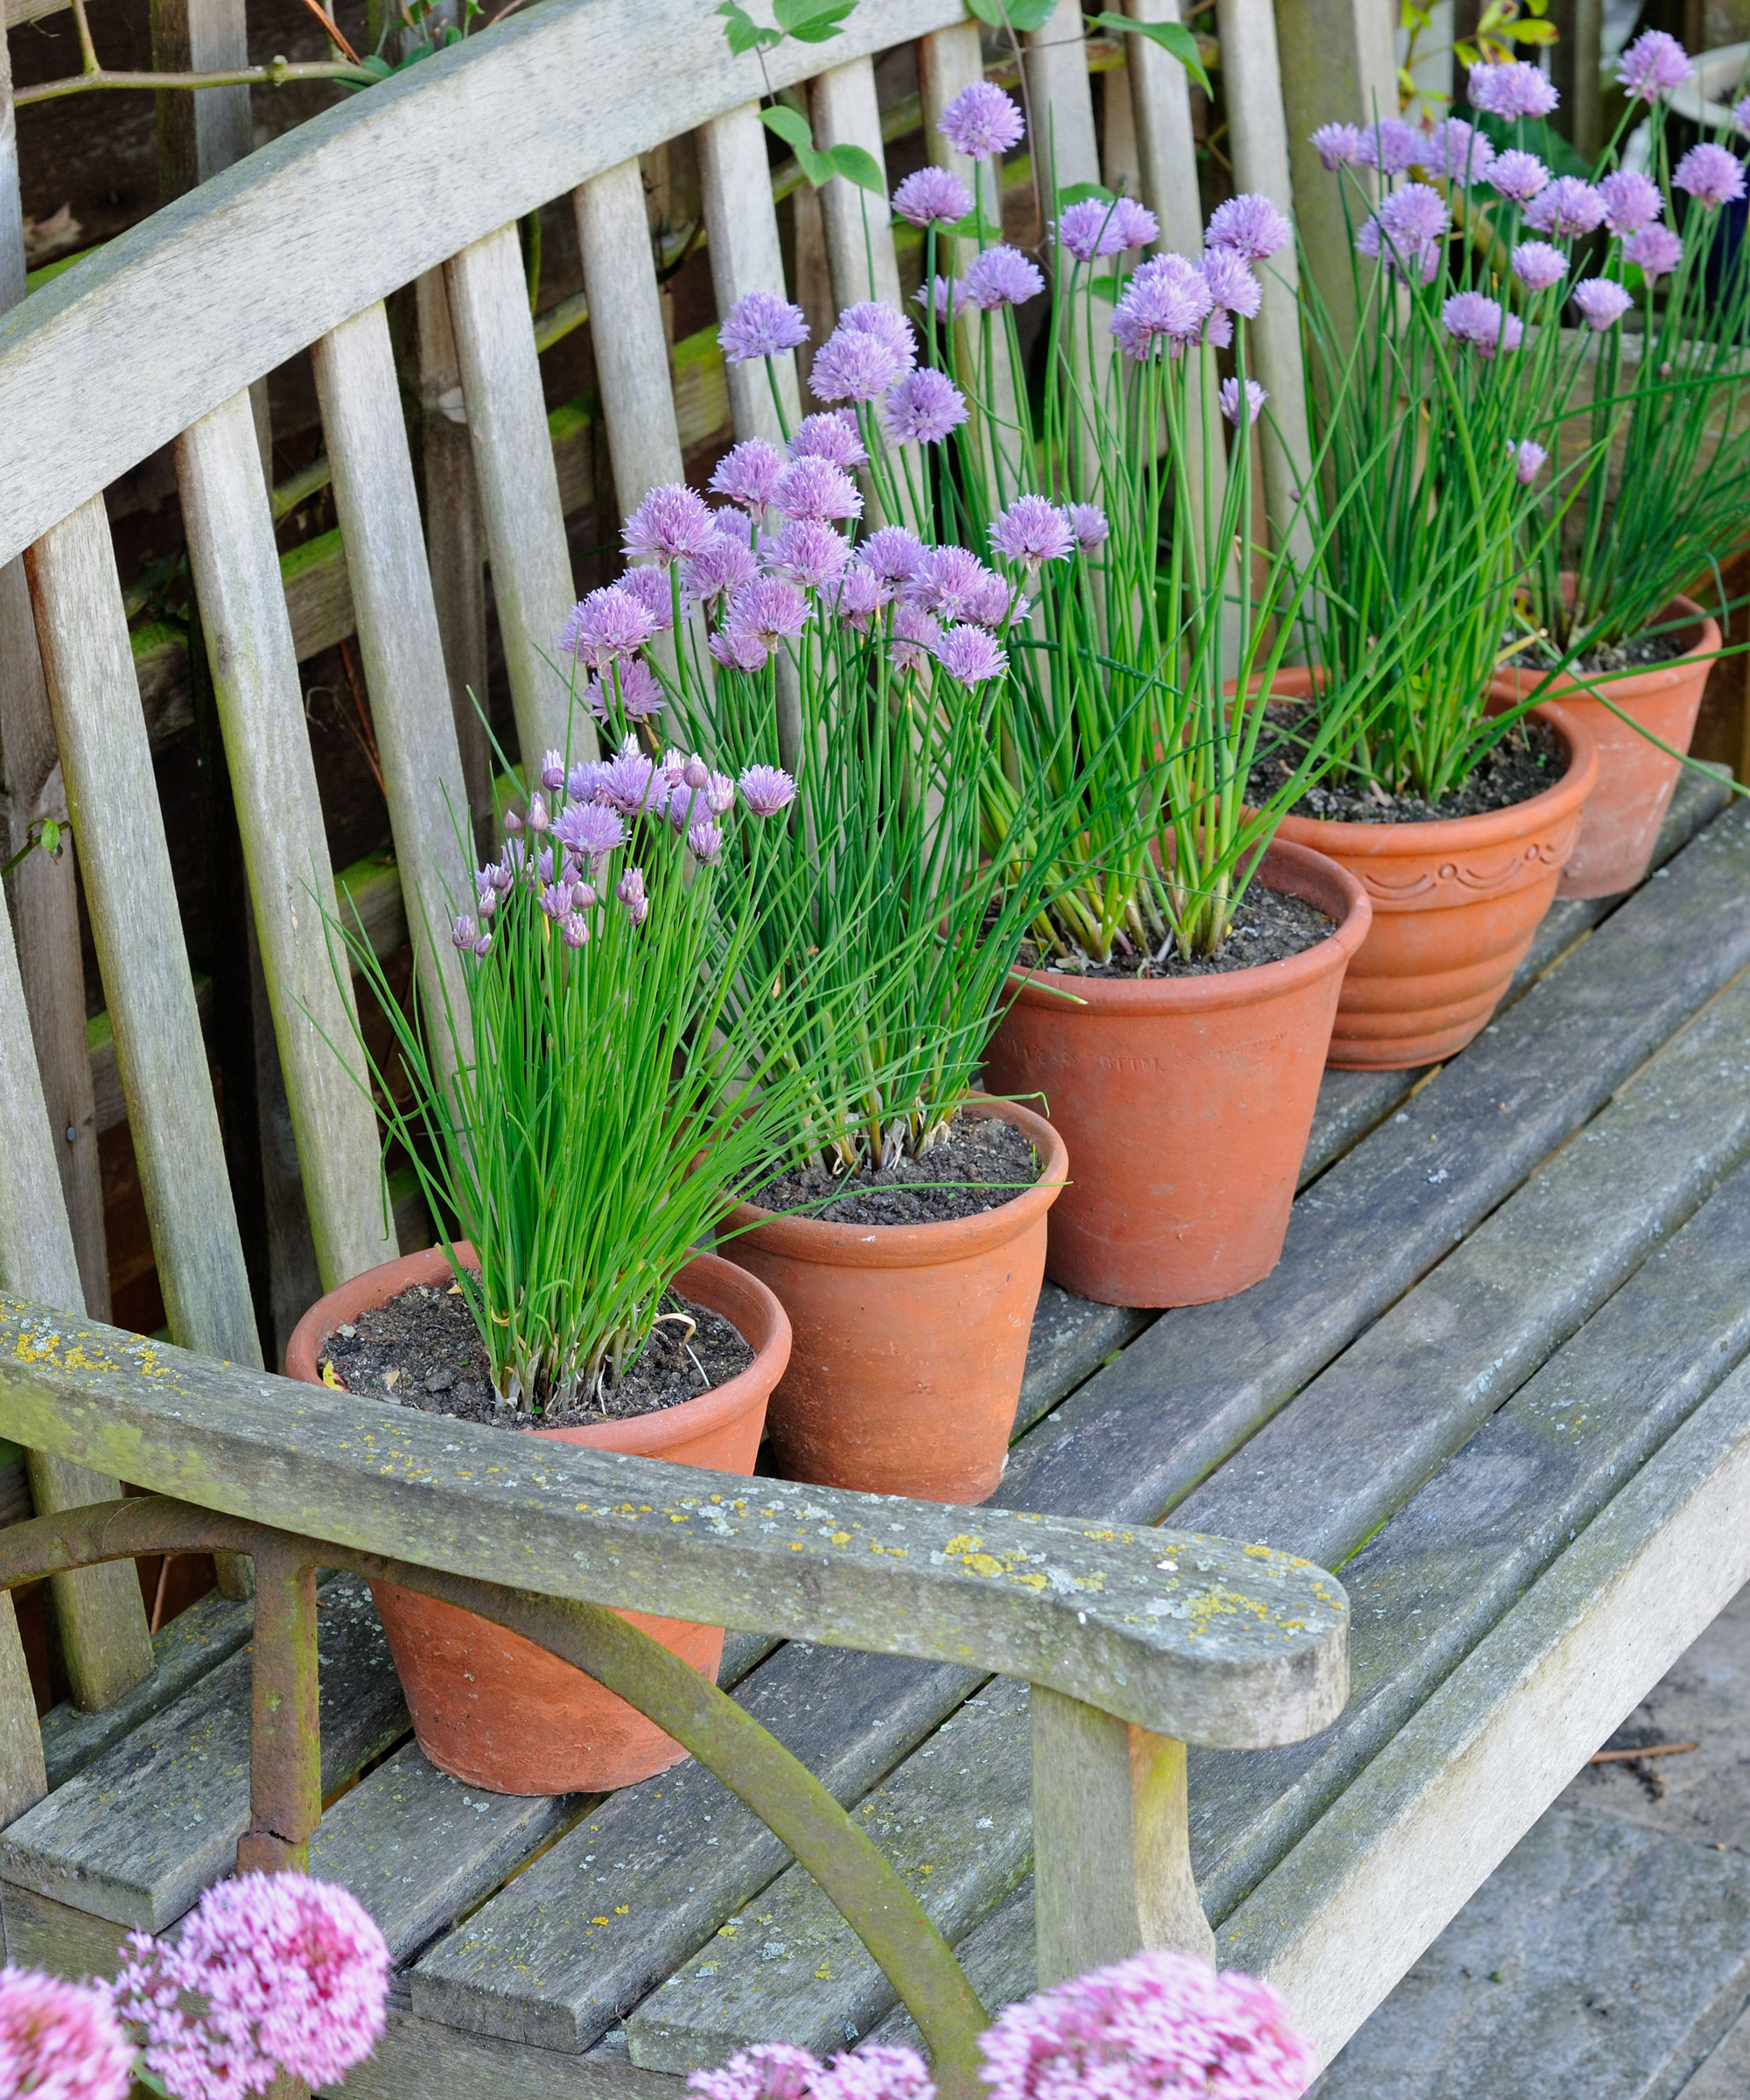
You can either harvest herbs by snipping for a clean cut, or by ‘tearing’ leaves from more lush-leaved herbs like basil
10. Make more herbs from potted plants
Understanding how to propagate herbs grown in containers gives you a chance to extend your container garden years into the future. Knowing how to take plant cuttings and dividing older perennials are relatively easy ways of boosting your yields across the season, and beyond.
‘Stem cuttings are a good way to bulk up woody herbs such as lavender, thyme, rosemary and sage,’ explains Lucy. ‘Bear in mind that soft spring cuttings root more rapidly than late-season woody kinds.’ Make your cuttings as soon as herbs put on a flush of new growth in spring. Using a sharp knife, cut off non-flowering shoots an inch long, removing a few lower leaves. Fill a modular tray with seed compost, watering well. Dibble a hole in each module, inserting the bottom half an inch of each cutting, then water in. Gently firm the cuttings in and place in a heated propagator set at 61-65˚F. Keep watering when dry and pot up once cuttings root.
‘Lifting and dividing plants in early spring is a way of reinvigorating tired clumps of larger herbaceous and clump-forming perennials,' says Lucy. ‘Mint, chives, oregano and lemon balm will benefit from splitting every few years to deter congestion and keep plants at their peak,’ she adds. Separate ageing clumps using an old bread knife. Discard the old middle section and repot the younger outer sections into gritty compost.
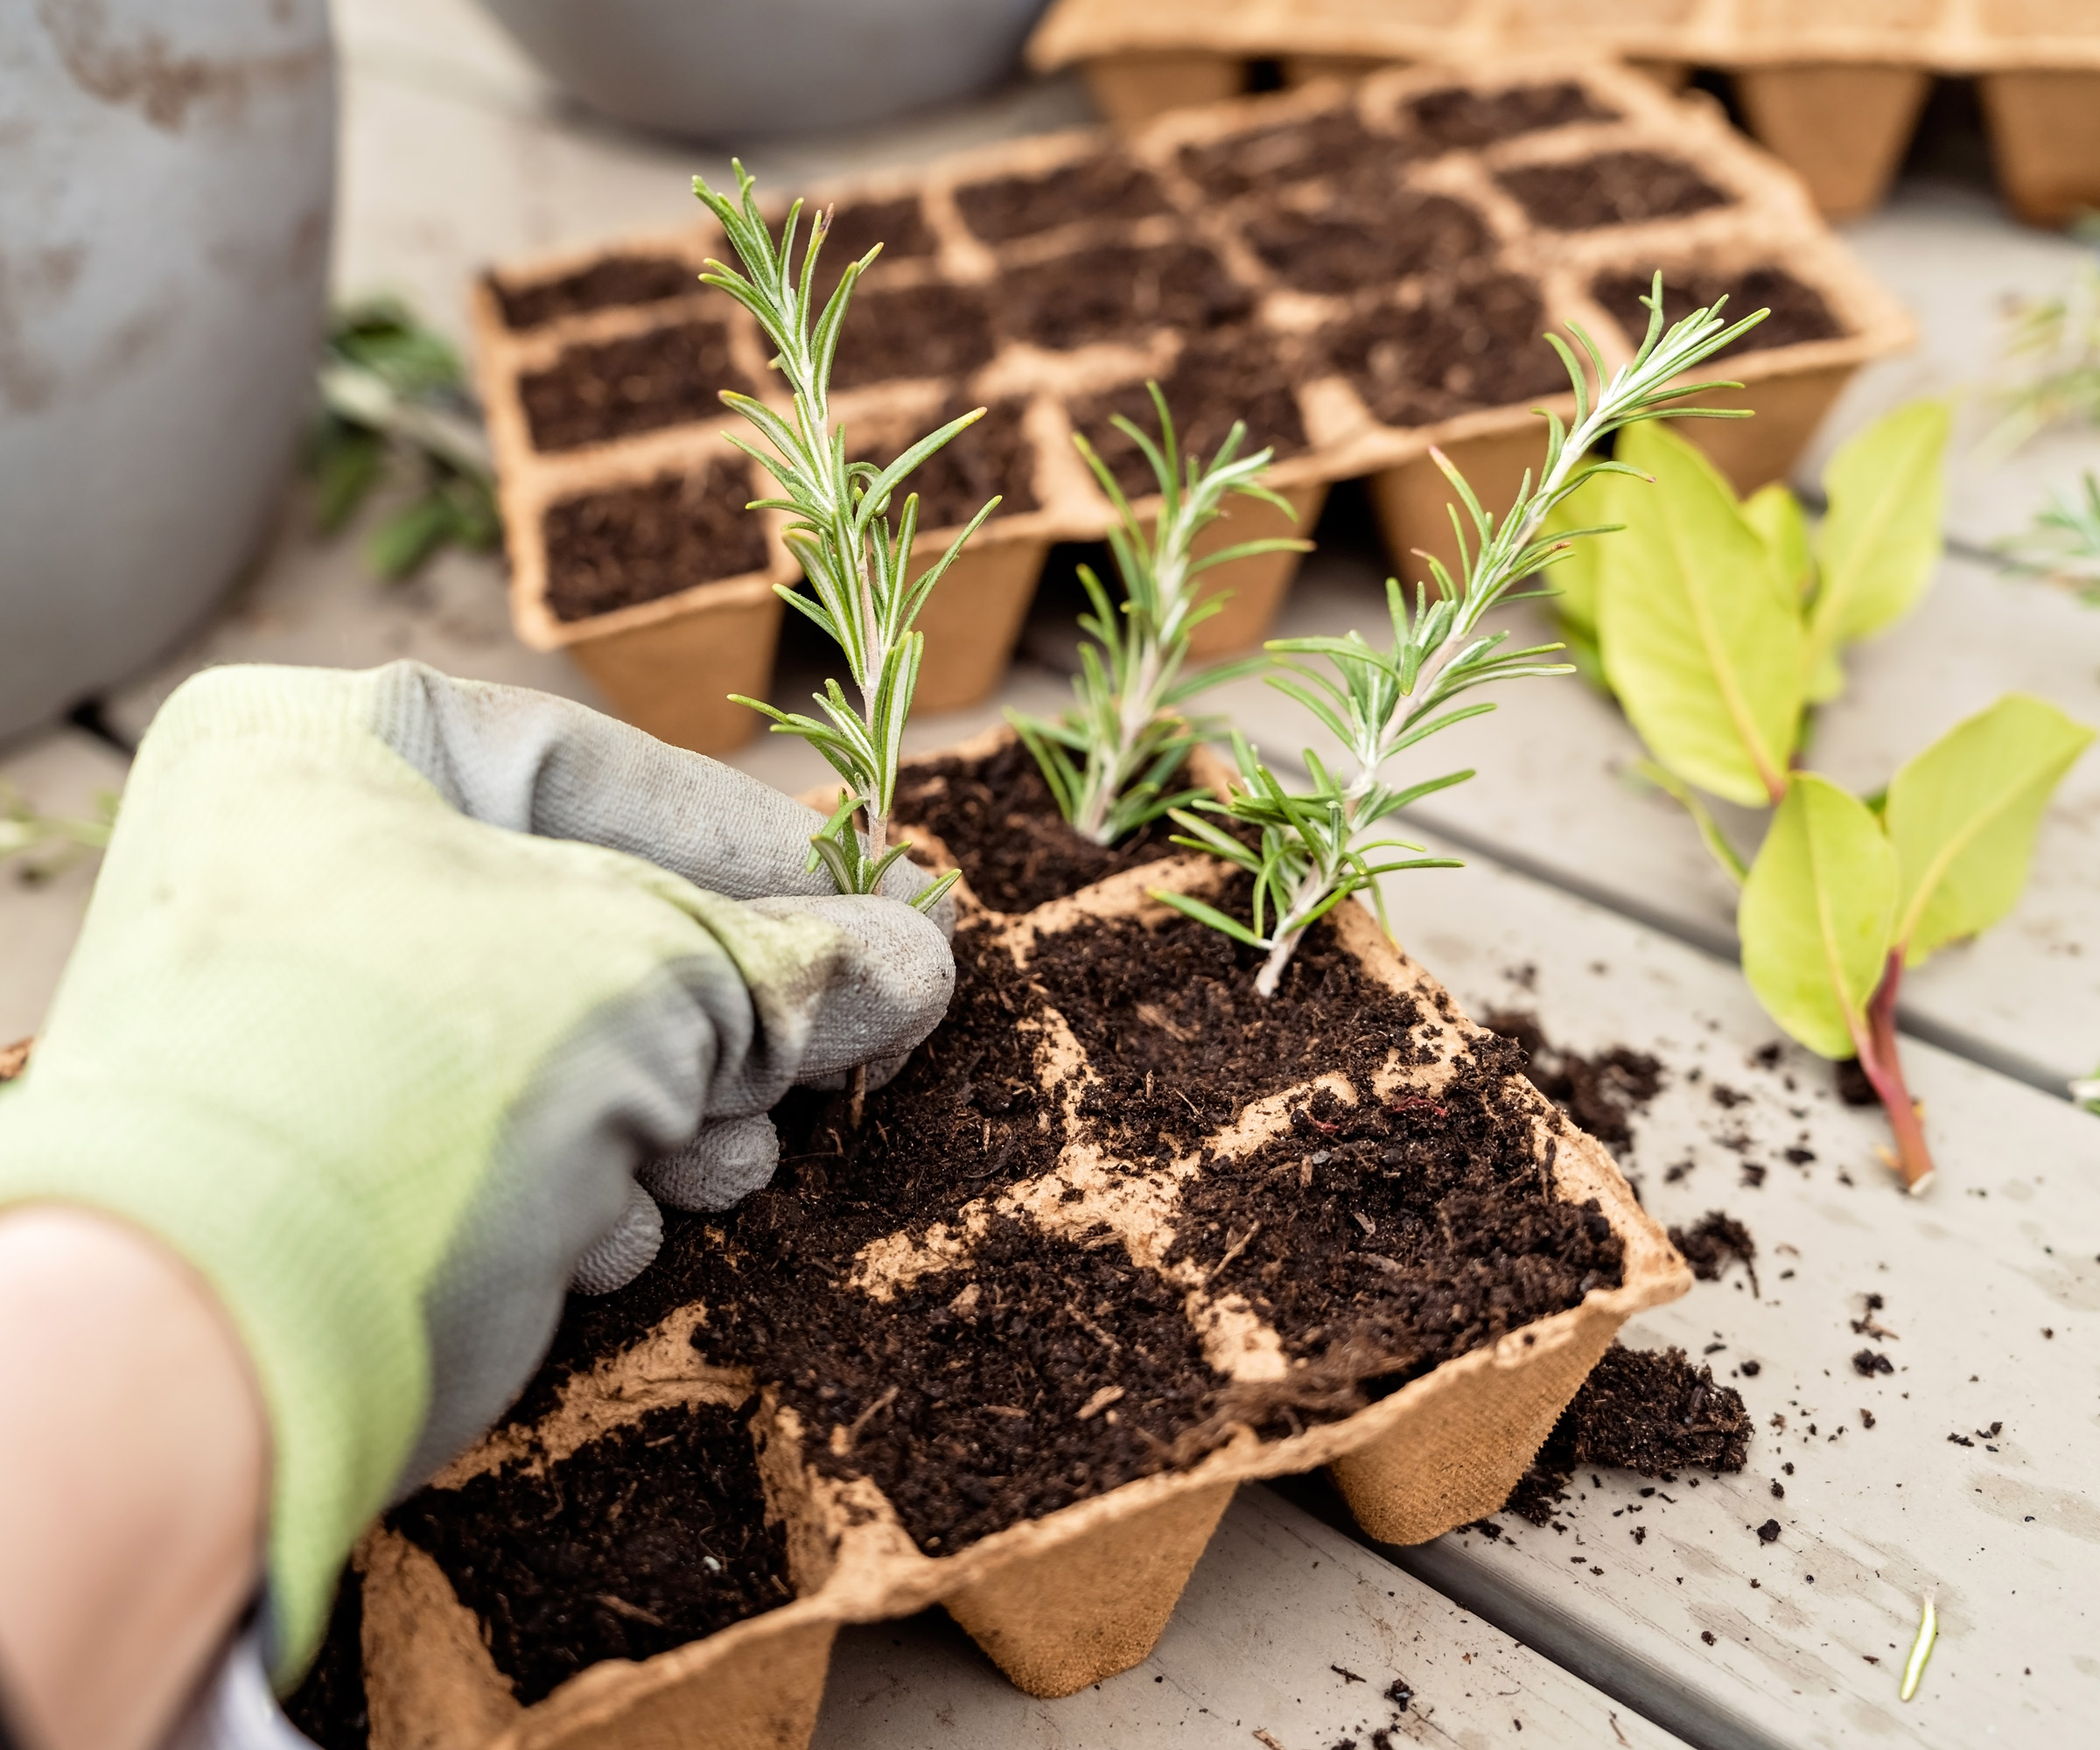
You can make stem cuttings of potted herbs like rosemary
If you're including lots of fragrant herbs in your container gardening ideas, think about where you place the pots so you can benefit from the wonderful scent. Ideal spots to consider include next to your patio seating area, lining a garden path where you can gently brush past them, or outside your kitchen door so you can readily snip away at herbs whenever you need them.

A former assistant editor of Amateur Gardening magazine, Janey's gardening passion was fostered from an early age, when her amazing mum had her deadheading hydrangeas, mulching roses, and propagating strawberry plants from runners for school open days. She's also taken part in lots of conservation and rewilding projects for the RHS and TCV as a way of exploring her horticultural horizons.