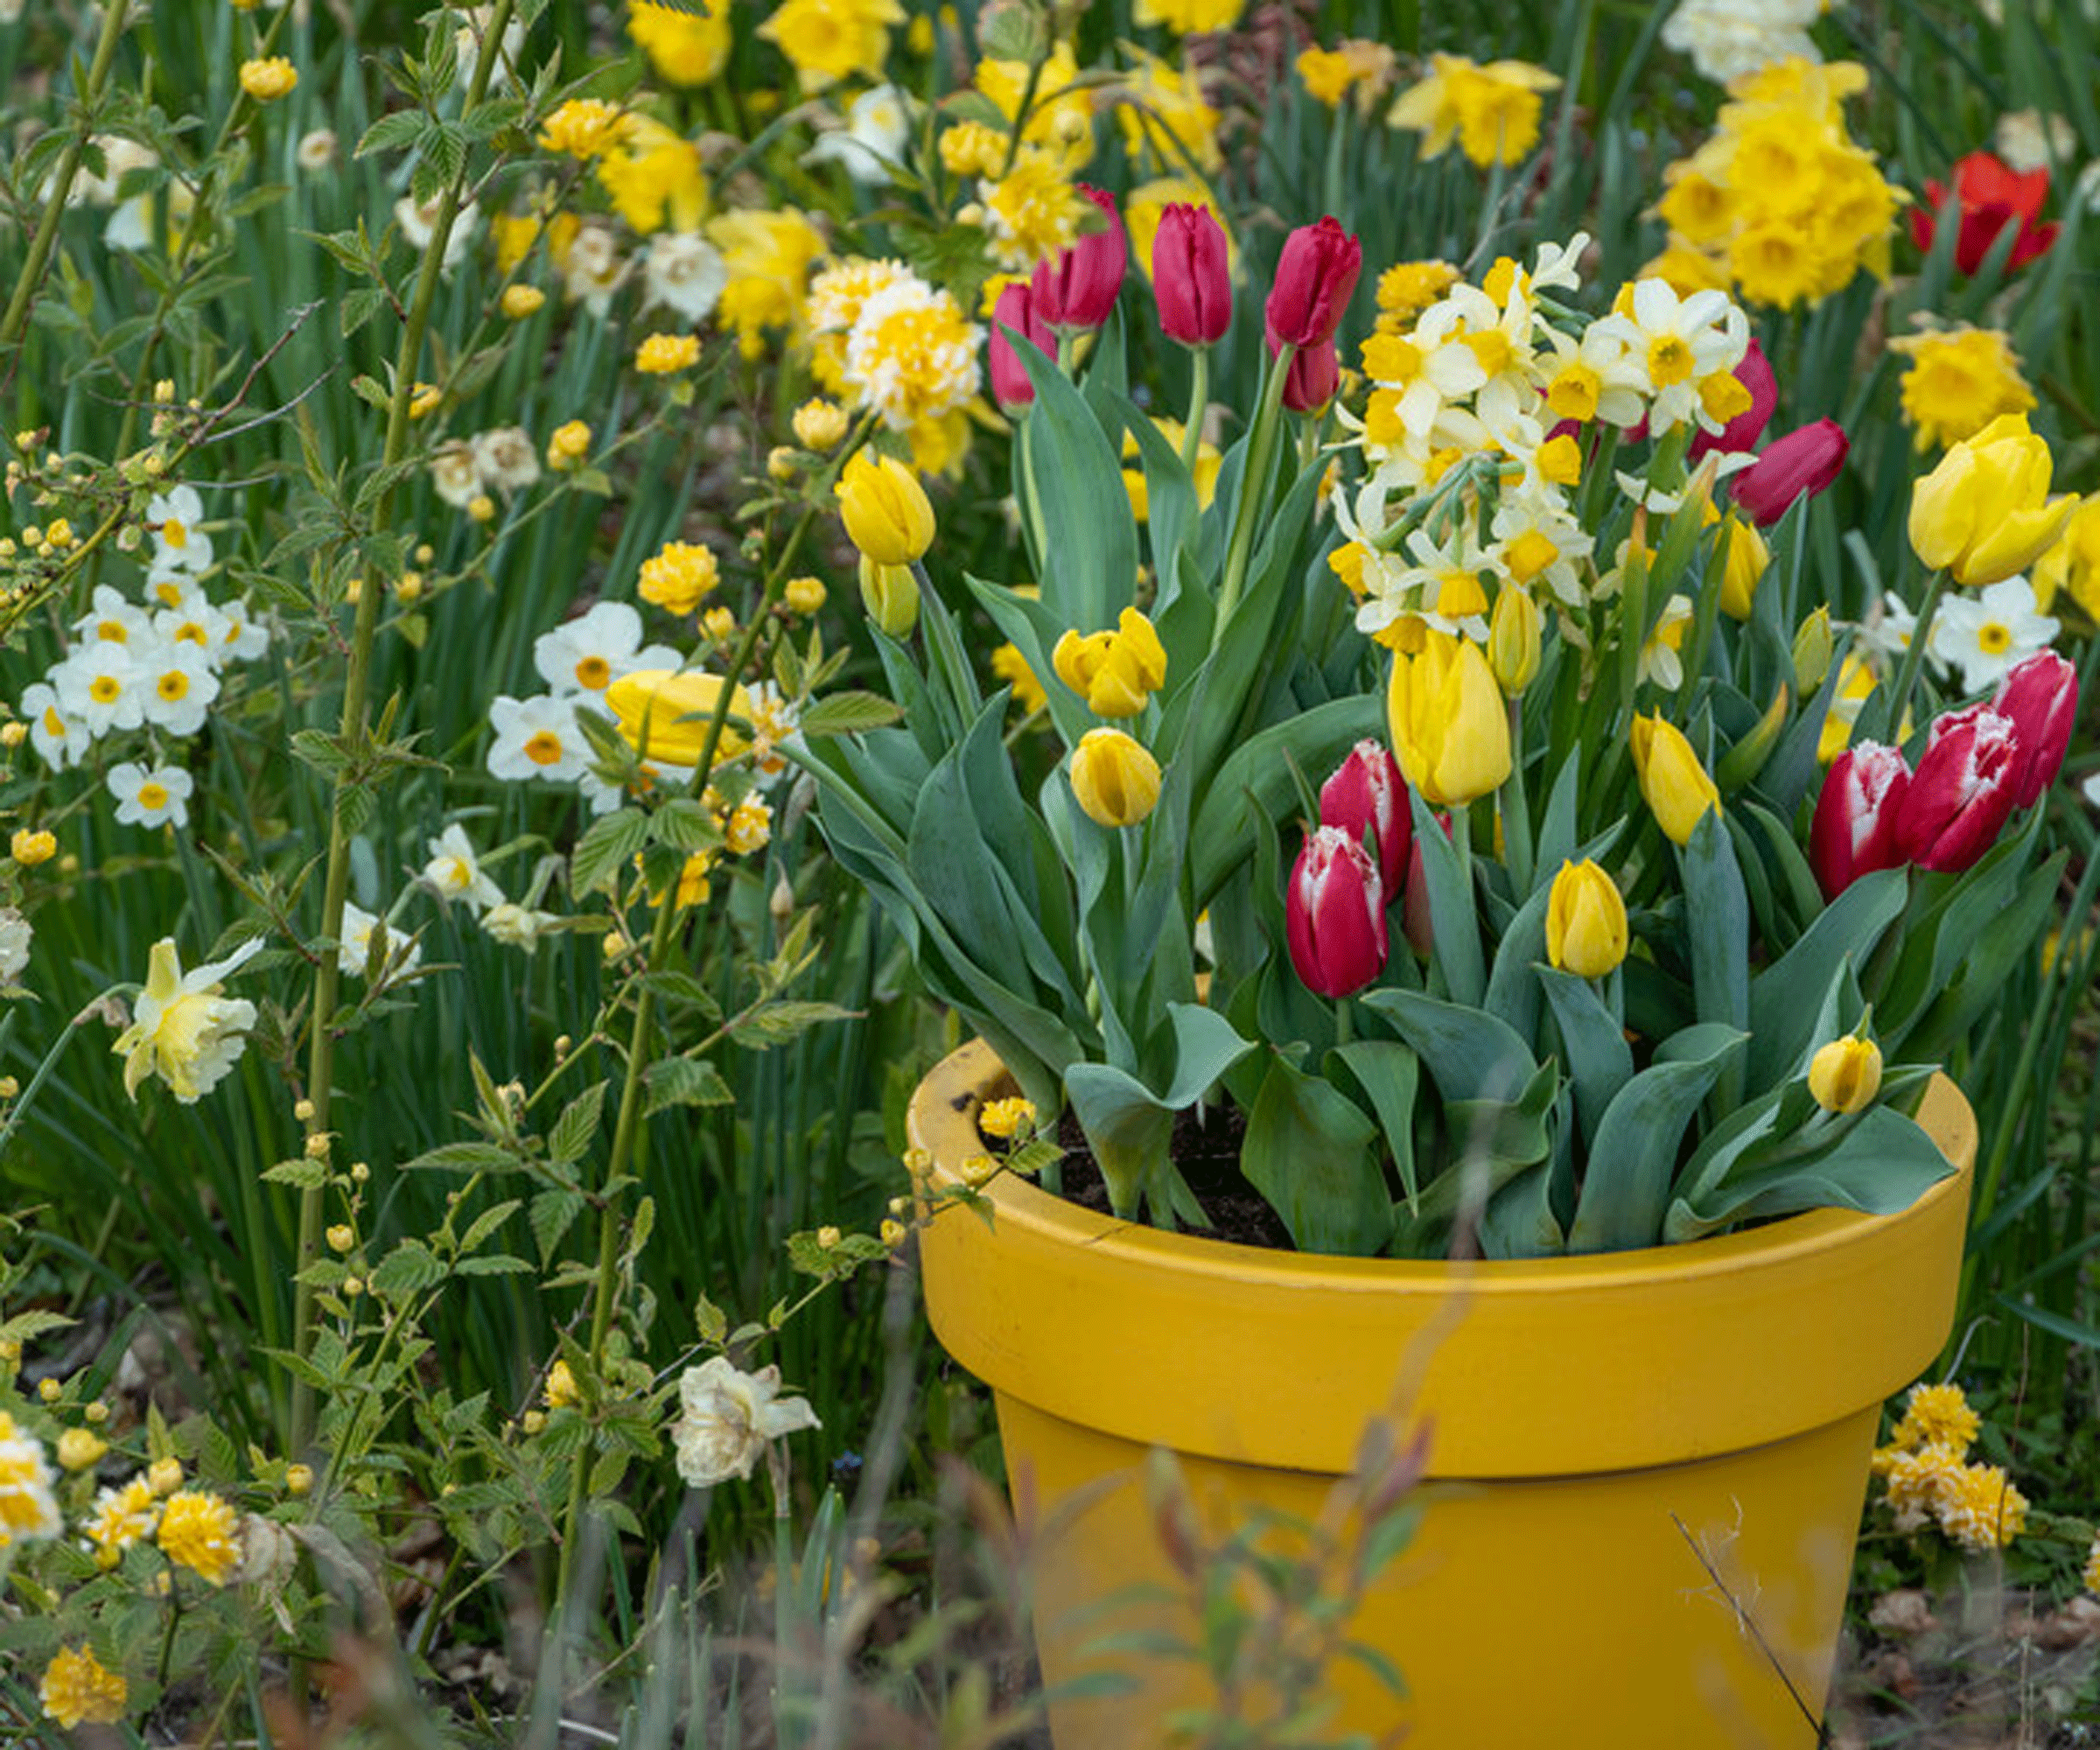
Spring gardening checklist – 10 urgent jobs to spruce up your yard
Use our spring gardening checklist to prepare your backyard for the growing season ahead

Writing a spring gardening checklist is one of the most exciting things to do in a season already laden with anticipation and delight.
After months of uninviting cold and wet, the start of the gardening year holds so much promise. There is so much to do, so many spring garden ideas to plan, that it helps to draw up a clear to-do list, so you don’t get bogged down by the weight of tasks. After decades of gardening and writing about gardening, I still feel a flutter of excitement when spring comes around. Even when the weather is bad I can be found in the shed or greenhouse, sowing seeds, potting on seedlings and cuttings, itching to get out into the garden and start ticking off the tasks on my spring gardening checklist.
From cleaning and sowing to dividing and keeping deer away from your precious plants, we are here with advice to help you create the yard of your dreams this year.

10 top tips for your spring gardening checklist
Here are our top 10 tips to keep your garden productive and healthy as we head deeper into spring and look forward to the summer ahead.
1. Nurture your soil

Placing flattened cardboard on borders is a good way of warming the soil and blocking the growth of weeds
You won’t get far with a productive backyard if your soil health isn't at its best.
Last year’s growing will have used up a lot of its nutrients, and harsh winter weather will have further depleted its goodness, so it is important to make time in the spring to get your soil up to scratch.
Whatever soil type you have, the best way to improve it is to incorporate generous amounts of well-rotted compost or manure. If you make your own compost, so much the better, but if not, then this is the perfect time to build a compost heap or wormery in your garden.
For quicker composting, you could also try hot composting, which can give you fabulous rich soil improver in around a month, instead of the 6-12 months that traditional compost making usually takes.
The benefits of homemade compost are vast. It is made from your kitchen fruit and veg peelings as well as cuttings, prunings and grass clippings, meaning less waste to dispose of, and it will save you money.
Commercially made compost is going up in price - and so is the fuel used to get you to where you buy it, or to transport it to your door. By making your own, you reduce your carbon output and save money for buying seeds and plants - a win-win situation.
You can also use a general plant feed to improve your soil, though because of the potential cost this is best used on small areas. Chicken manure pellets are a great all-rounder and are widely available in garden shops and online, such as this 25lb bag of organic pellets from Espoma on Amazon.
In colder US hardiness zones you may need to warm the soil before sowing and planting, and this is easily done by pegging insulating horticultural fleece over the surface.
Alternatively, use home-made insulation such as flattened cardboard boxes and old compost bags. Make sure they are securely anchored down - and remember this is also an excellent way of blocking light from the soil so weeds don’t grow.
2. Organise the shed and greenhouse

Make sure the greenhouse is clean before stocking it with seedlings and cuttings
We are coming up to the busiest time of the year so you need everything to be clean and ready for all the sowing, repotting and growing you're going to be doing.
In the shed, clean and sharpen your tools, making sure you remove rust and dirt. If any need replacing, do so now before the mad spring rush. It's tempting to overbuy when it comes to garden equipment, but there are only a few essential tools needed - the rest are simply there to make you spend more.
Ensure you have adequate, appropriate and safe storage in your shed for fertilizers, chemicals and potting soil. Wash and pots and trays you are planning to reuse. I also wash my gardening gloves to keep them soft and more pleasant to wear.
Then turn your attention to the greenhouse which you may have winterized back in the fall.
Clean the glass to let in maximum amounts of light and wash down shelving and tables using hot water and household disinfectant. Open doors and windows on milder days so everything dries out.
If your greenhouse contains beds for growing, replenish the soil with manure or well-rotted compost or chicken manure pellets.
Overwintered plants need checking for pests and disease and I tend to be ruthless and get rid of any that don’t look healthy - you don’t want problems being transferred to new plants.
Remove greenhouse pests too, throwing out slugs and snails and using a greenhouse fogger, such as this best-selling BASF pyrethrum model on Amazon to remove aphids, mealybugs and other nasties.
3. Check seeds are viable

Test seed viability by scattering a few on damp kitchen paper
While tidying our shed this spring I came across loads of packets of old seeds, some open, some still sealed shut.
If you are the same, don’t be tempted to throw them away because even though they may be well past the ‘sow by’ dates on the back of the packets, many of those seeds will still germinate.
It’s easy to find out. Scatter a few small seeds on a dampened piece of kitchen paper, seal it in a clear plastic bag and place it somewhere light and warm.
If the seeds are viable, they will start to sprout within a week or so and are worth keeping. If nothing happens, add them to the compost heap.
To test larger seeds such as sweet peas and morning glory, pop a few in a bowl of water and see what they do. If they sink they are sound and can be sowed, but get rid of any that float.
4. Give your lawn some love

Use a garden fork to aerate waterlogged areas of lawn and improve drainage
Lawns often look a sorry state after the snow and rain of fall and winter, and as they often make up a large part of our yards they can make everything look messy.
Once the grass has thawed and dried out you can walk on it and start your lawn care regime to make it look better.
Scarify the grass by running a rake over it to remove dead material, known as 'thatch', then use a garden fork to aerate areas of the lawn that are prone to waterlogging. Plunge the fork into the soil, give it a wiggle, then repeat the process across the whole affected area.
Raking and forking both help to improve drainage and airflow around the grass, keeping it healthy and reducing the risk of moss and weeds.
It is also time to start mowing again once the grass has dried out and is starting to grow. Getting the correct mower height is important for the first few cuts to avoid damaging the grass and churning the soil.
If you are growing spring bulbs in your lawn, carefully mow around them without chopping down the leaves, which should be left in place to shrivel and die back naturally to feed the bulbs below.
Spring is the time to fertilize your lawn, and many feeds come combined with moss and weed killer. There are many products available, such as Pennington Ultragreen, available on Amazon. Follow instructions carefully when using. Always use products formulated for lawn weeds, as general weedkiller will kill grass as well.
Or why not create a wildflower meadow that is easier to maintain, pretty to look at and a great way of attracting pollinators and wildlife to your yard? This type of lawn is also more drought resistant, making it preferable at a time when the climate is becoming more extreme.
There are many different seed mixes available, but try to find one with varieties that suit your soil and climate.
5. Divide or move perennials

Divide perennials, such as hostas, in spring when they start growing again after winter
Perennial plants are some of the most easygoing and hardworking plants in the backyard. Now, as spring gets underway, they will be starting to produce new growth after their winter sleep and if you wish to divide or move any, or taking cuttings from fresh shoots, this is the time to do it.
Dividing is a great way of making more of your favourite plants for free, and reinvigorating old, less productive plants by getting rid of their sprawling woody centers. It is a simple procedure which involves lifting the plant from the soil and splitting it into sections, using a knife, spade or two garden forks placed back-to-back and wiggled apart.
Make sure each section has healthy roots and shoots, then replant them at the same depth as they were growing before and water well. Don’t be alarmed if they droop a little at first, they will soon revive.
If you want to move a perennial that has outgrown its pot or is failing to thrive, start by creating a large enough hole in its new position, and scattering some general plant feed at its base.
Then lift the plant as before, keeping a generous amount of soil attached to the roots and replant it as soon as you can, filling in around its roots with soil and potting mix, firming it down as you go to knock out the air pockets. Water the plant well and mulch generously over its root area so help the soil retain moisture.
Taking cuttings is another great way of making more plants for free, and the fresh new shoots appearing on perennials all round the garden is perfect material. As long as you avoid the main common mistakes that many gardeners make when taking cuttings, it is a relatively simple procedure.
The best time to take cuttings is in the morning when they are full of moisture from the night before. Select healthy material around 4in long, dip the cut ends in rooting compound and insert them in pots of dampened cuttings compost that you’ve mixed with grit or vermiculite to improve drainage.
Keep humidity around the cuttings as they root by sealing their pot inside a clear plastic bag or single pot cloche (I use half a cut-up plastic lemonade bottle) and place them somewhere light and warm, but out of direct sunlight. Once the cuttings start to grow, remove the bag or cloche, keep their compost just damp and move them into individual pots of compost when they are large enough to transplant safely.
6. Sow seeds inside and out

Hardy calendula (pot marigolds) can be sown directly into the soil in spring
One of the best springtime gardening tasks is sowing seeds of annual flowers, biennials and perennials.
The soil will be starting to warm up now so it’s time to sow outside hardy varieties such as hollyhocks, calendula, cornflower and Nigella.
Prepare the soil by weeding it thoroughly and removing stones and old roots, then raking it until it’s fine and crumbly.
Dampen the soil and then scatter your seeds thinly, before covering them with a fine layer of soil. Firm this gently down and scatter a pest repellent such as these scented deterrent balls on Amazon to deter cats, deer, rabbits and birds.
Don’t forget to mark the sowing spot so you don’t disturb the seeds, and if seedlings emerge too close together, thin them out so the remainder grow healthily.
Half hardy annuals that are intolerant to cold should still be sown indoors in trays and pots. Their seeds can be sown outside when the frosts have finished.
7. Clean patios and decking

Sweep up patio debris before removing moss and algae with cleaning fluid
We all want to be sitting out in the warm sunshine on our patios and decking areas, but before we do, make sure you have swept and washed them clean of fallen leaves, moss and algae.
Take care not to make any of the most common patio cleaning mistakes, and you will have sparkling hard surfaces that will be a welcome place for relaxing and entertaining.
Not only are these ideal breeding grounds for pests and diseases, they can be treacherously slippery - and no one wants to start summer with a broken limb or bruised bottom.
I use a stiff yard bush to sweep up debris, then use hot water and an organic, pet- and child-safe garden surface cleaner such as Scotts bleach-free multipurpose cleaner on Amazon to get rid of algae and moss.
Pressure washers such as this highly-rated electric model by Cat, available on Amazon, are ideal for blasting muck away from decking and concrete, but they aren't ideal for paved or brick patios and driveways as they can dislodge the mortar between the stones, causing dangerously uneven surfaces.
Take time to clean garden furniture too, painting or varnishing woodwork and buffing away any rust on metal arm rests and frames before repainting in the color of your choice.
8. Protect the garden from deer

Make sure you keep deer off your tender young plants
Deer will be breeding and looking for easy sources of food so make sure you have protection in place to keep them away from plants.
Motion-sensitive lights are one way of deterring them, though they may become annoying if they keep coming on in the middle of the night.
Deer-repellent sprays are a less invasive deterrent, as are wind chimes and old CDs hung off trees so they catch the sunlight.
There are lots of deer-resistant plants available, so consider growing bee balm, Russian sage, bleeding hearts and potentilla and if all else fails, cordon off your garden with deer-proof netting.
9. Plant summer bulbs

Add summer opulence and elegance to your yard by planting lilies now
Now the soil is starting to warm up, and is pleasantly dampened by spring showers, it’s time to plant summer bulbs.
These varieties bring so much color and richness to the yard - the canna lilies, dahlias, zantedeschia, freesias and agapanthus, not forgetting the varieties that flower on into the fall such as nerines and crocosmia.
In colder hardiness zones, start them in pots undercover and harden them off before adding them to the garden once the frosts have reliably finished and night temperatures have warmed up.
If you live in warmer regions, plant bulbs straight into the soil or patio containers. The optimum spacing is at three times their own depth and one bulb’s width apart. The resulting blooms also look better and less regimented if planted in odd numbers.
You will get better results if you enrich the soil with well-rotted compost or manure before planting and if you garden on heavy clay soils that are prone to waterlogging, this will also help to improve drainage.
Another good idea for solid soils is to grow bulbs in pots so they are less likely to rot.
10. Look after wildlife

Make sure garden birds, such as this female cardinal, always have fresh water for bathing and drinking
As we get busy in the yard, so its insects, garden birds and wildlife are increasingly preoccupied with nest building, feeding up and breeding.
It is a joy to welcome wild creatures to the garden and there are lots of wildlife garden ideas to help you create a safe haven for them and protect birds from cats and other predators.
Make sure bird houses are high and safe and that feeders and baths are regularly washed and filled with fresh food that’s high in nutrients, such as suet balls, seeds and nuts.
There should also always be clean water available for birds to drink and bathe in.
Make sure nuts are held in feeders so adults can break off small pieces, as whole nuts can choke baby birds, and never hang fat balls in mesh holders as birds can get their claws stuck in them and die a slow death.
Wild birds are not just fascinating to watch, they perform an important role in eating unwanted insects, so if you welcome them in you should have less need to use chemicals to keep pests at bay.
FAQs
When do I restart my stored dahlia tubers?
If you lifted and stored dahlia tubers when they finished flowering last fall, start potting them into containers of fresh general purpose potting soil now.
Keep the compost just damp, not soggy, and place them in the greenhouse or a cool porch and they will soon start producing new shoots.
Some of these can be cut off at the base and used as cuttings to make more plants.
Your dahlias can be planted in the garden when frosts have finished and night-time temperatures are warming up.
What should I do with old chemicals?
It is against the law to tip leftover chemicals down the toilet or drain as you can poison rivers and water supplies. Instead, use up the dregs as you would normally and dispose of the packaging responsibly.
Alternatively, take them to your nearest household hazardous waste site.
Full details of safe chemical disposal, household recycling ideas and more can be found at www.earth911.com
Do I need to feed plants and trees ?
Most established and mature trees have extensive root systems so don’t need feeding.
The exceptions are fruit trees and shrubs which will benefit from the application of a high potassium fertilizer, such as this highly rated Easy Peasy feed on Amazon, to boost flowering and fruiting.
Perennials will also perform better if you give them a general purpose feed in spring when they start to grow again. When buds appear, switch to a fortnightly dose of high-potassium fertilizer so they flower their best.
Spring is the busiest time of the gardening year, and the work you put in now will reap dividends come the summer and fall when your yard is full of color, scent and delicious fruits and vegetables.
